How to Clean Your Memory Foam for a Restful, Healthy Sleep
Memory foam offers an unparalleled sleep experience, but it's not like your average mattress or pillow. You can't just throw it in the wash or scrub it down with any old cleaner. The very thing that makes it so comfortable—its porous, sponge-like structure—is also what makes it tricky to clean.
You have the power to keep it in pristine condition with a gentle hand. The best way you can tackle it is to start by vacuuming the surface, then carefully spot-clean any stains, and finish by letting baking soda do its magic to deodorize. Whatever you do, never soak the foam or even think about putting it in a machine dryer.
Why Memory Foam Needs A Different Cleaning Approach
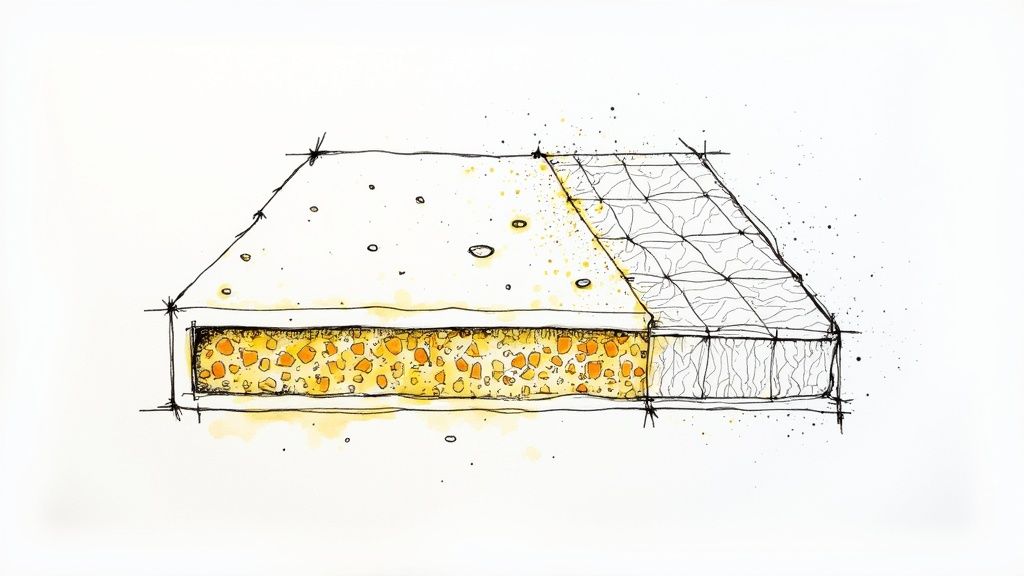
Think of your memory foam mattress as a high-tech sponge. Its open-cell structure is a marvel of engineering, designed to contour perfectly to your body for incredible support. But that same structure is also a magnet for dust, dead skin cells, sweat, and allergens, trapping them deep inside.
This is exactly why you have to be so careful.
A traditional mattress might stand up to a steam cleaner, but treating memory foam that way is a recipe for disaster. Let's get into why a different strategy is non-negotiable for you.
The Dangers of Water and Harsh Chemicals
Water is the absolute enemy of memory foam. Drenching it is one of the worst things you can do because the dense material takes forever to dry. That lingering dampness creates a perfect, dark environment for mold and mildew to thrive, which can wreck the mattress and trigger your allergies.
Beyond that, the sheer weight of the absorbed water can physically break down the foam's delicate cell walls. Once that happens, you've lost the supportive, elastic feel you bought it for in the first place.
Harsh chemicals are just as bad, if not worse. Cleaners containing bleach or ammonia will actively destroy the foam. Here's what they do:
- Degrade the Foam: The chemicals will literally eat away at the viscoelastic polymers, ruining that unique memory foam feel.
- Cause Discoloration: You'll often be left with permanent, ugly yellow stains where the harsh cleaner was applied.
- Leave Toxic Residue: The last thing you want is to be breathing in chemical fumes while you sleep. That residue can off-gas for a long time.
Because foam is so porous, it traps allergens and bacteria deep inside. Regular vacuuming helps, but it just can’t get to everything. This is why careful, targeted cleaning is so crucial for you to maintain a truly healthy sleep environment.
Protecting Your Sleep Sanctuary
Learning how to clean your memory foam properly isn't just about keeping it looking nice—it's about protecting your investment and, more importantly, your health. The entire goal is to empower you to lift out stains and kill odors without causing any damage.
A proactive approach is your best bet for keeping things fresh. In fact, combining a good cleaning routine with these essential tips for maintaining a dust- and allergen-free bedroom will help you make a huge difference.
When you master the right techniques, you can ensure your mattress provides the amazing comfort and support you love for years to come.
Gathering Your Memory Foam Cleaning Toolkit
Before you tackle a stain, it's time to assemble your supplies. Having the right tools on hand from the start is half the battle. It turns that moment of "Oh no, I spilled coffee!" from a full-blown panic into a minor, manageable cleanup you can handle with confidence.
The good news? You probably have most of this stuff in your house already. The secret isn't some fancy, expensive cleaner; it's about using gentle but effective solutions that won't destroy the delicate structure of your memory foam. Stay away from harsh chemicals.
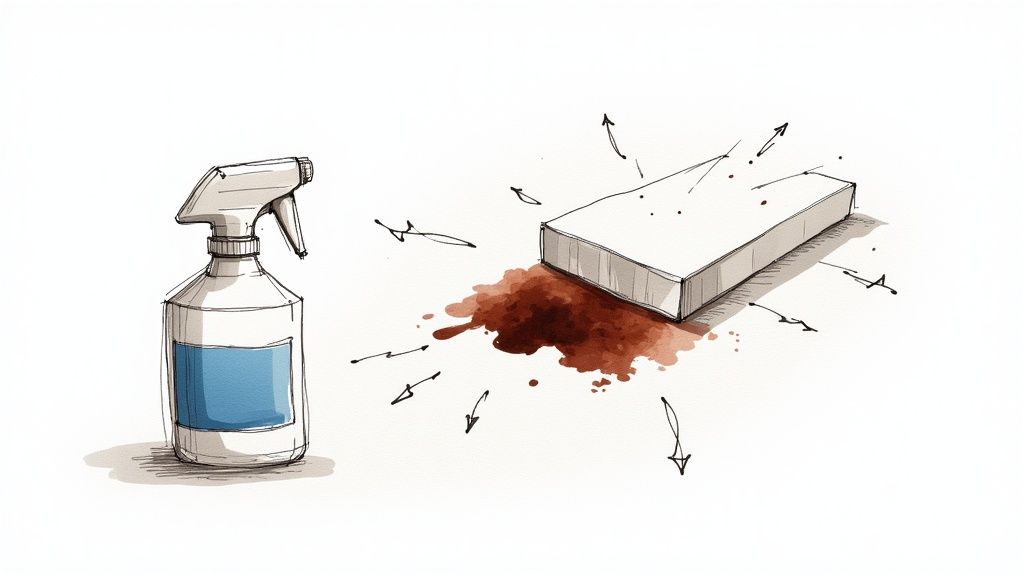
This infographic gives you a great visual breakdown of what you're about to do.
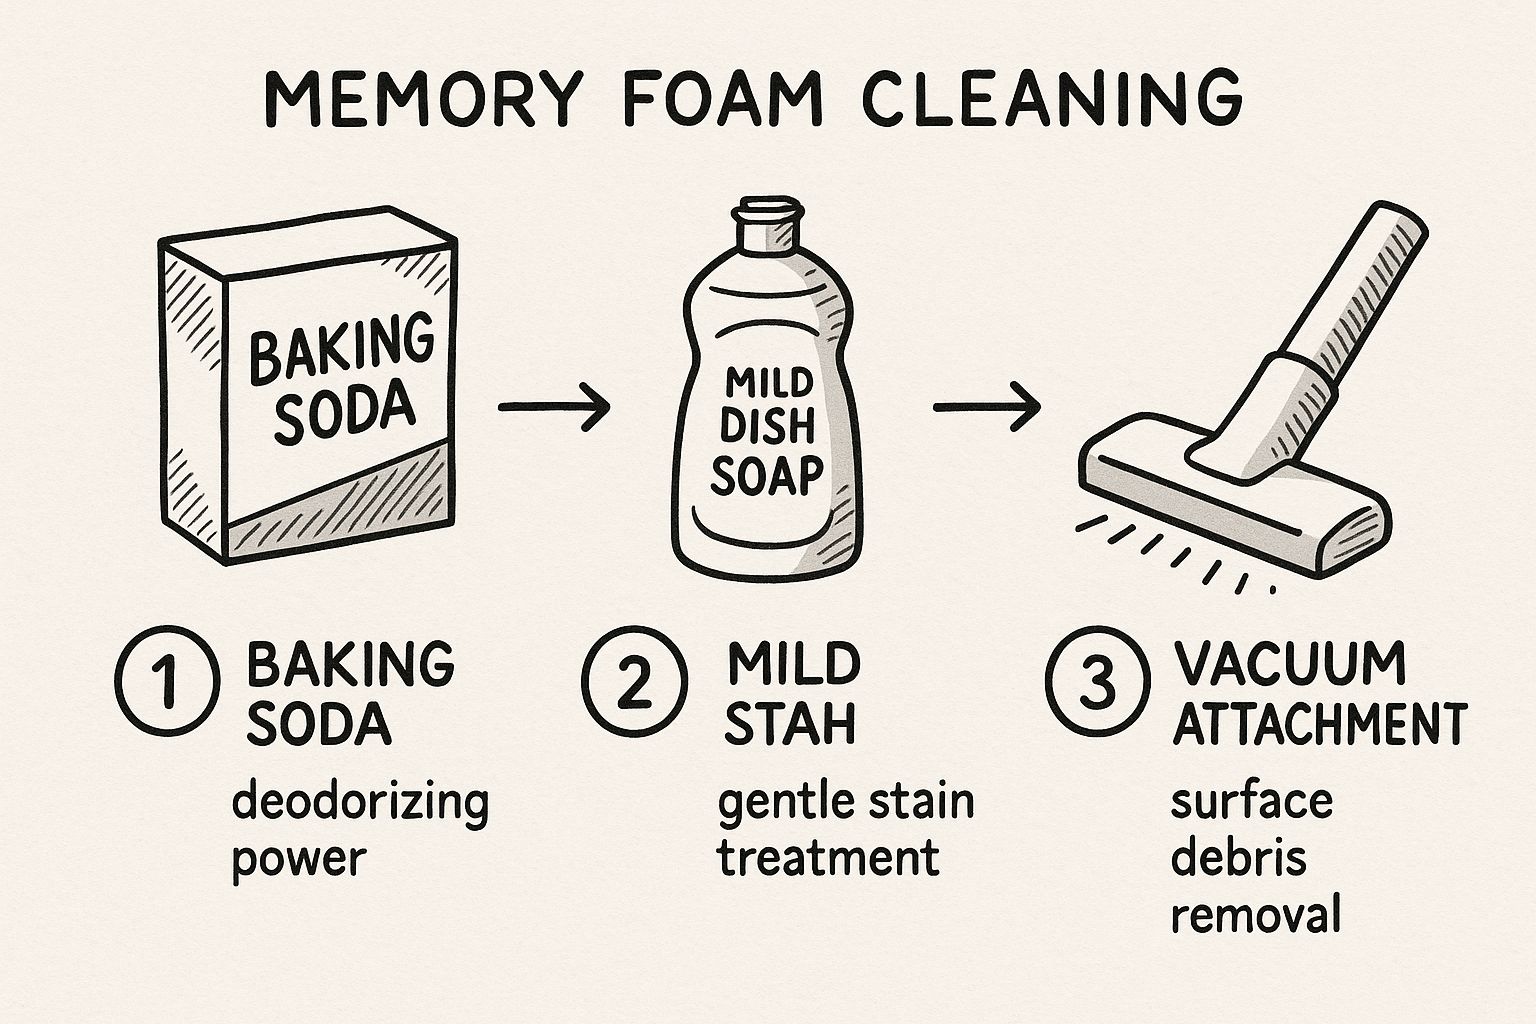
As you can see, the process comes down to three key actions: getting rid of odors, gently treating spots, and clearing away any loose debris.
The Tools of the Trade
Here’s a quick-reference guide to what you’ll need. You can gather these items before a spill happens so you can act fast.
| Tool | Purpose | Pro Tip |
|---|---|---|
| Vacuum with Upholstery Attachment | Your first line of attack for removing surface dust, crumbs, pet hair, and other debris. | The brush attachment helps lift particles from the fabric cover without being too abrasive. |
| Baking Soda | A natural and powerful deodorizer. It absorbs moisture and neutralizes odors from sweat or spills. | Don't be shy with it! A generous layer left to sit for a few hours works wonders. |
| Mild Dish Soap or Detergent | Creates a gentle cleaning solution for spot-treating stains. | Look for a clear, dye-free, and fragrance-free liquid soap to avoid leaving residue or color. |
| Clean Cloths or Sponges | Essential for blotting up spills and applying your cleaning solution. | Microfiber cloths are fantastic because they're super absorbent and won't leave lint behind. |
| A Spray Bottle | Allows for a fine, controlled mist of cleaning solution, preventing oversaturation. | Soaking memory foam is a huge no-no, as it can damage the material and take forever to dry. |
With these simple household staples, you’re well-equipped to handle most memory foam cleaning tasks safely and effectively.
Pro-Tip: The absolute best way to deal with messes is to prevent them from happening in the first place. A quality mattress protector is a game-changer. It acts as a barrier, saving you from a world of cleaning headaches. You can find the right fit for your needs by exploring our complete guide to bedding and mattress protectors.
How to Deep Clean a Memory Foam Mattress
Sometimes, a quick spot-clean just won't cut it. When your memory foam mattress starts to feel less than fresh, a proper deep clean is the perfect way for you to hit the reset button. This is your best strategy for getting rid of built-up dust, allergens, and those stubborn, lingering odors, all without damaging the delicate foam.
Think of it as protecting your investment while creating a healthier, more inviting place to sleep. It’s all about being thorough, but gentle.
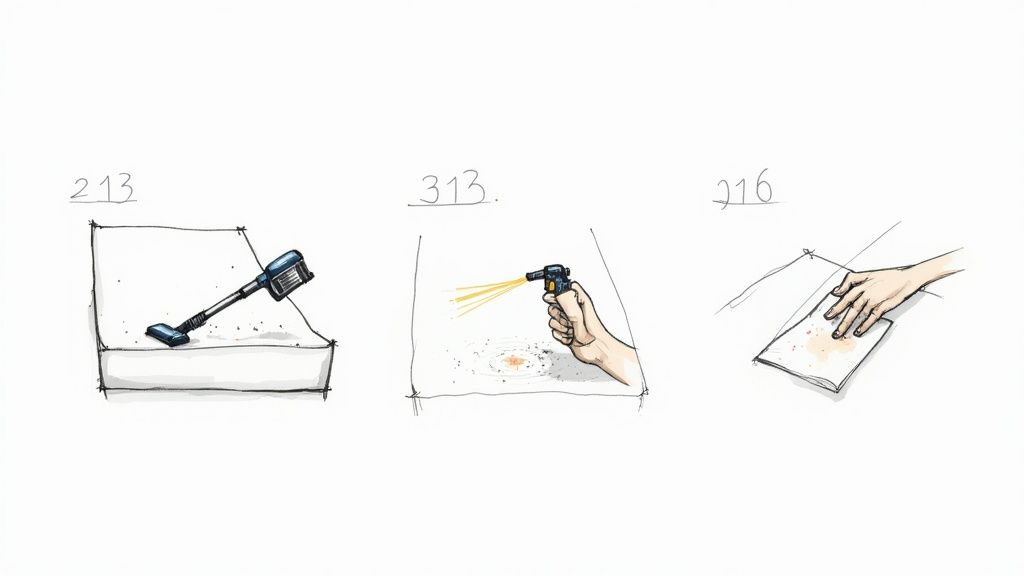
First, a Thorough Vacuum
Before you even think about tackling stains, grab your vacuum. Starting with a complete vacuuming of the entire mattress surface is non-negotiable. Why? Because it clears away all the surface-level stuff—hair, crumbs, pet dander, and dust. If you skip this, you're just going to turn that dry dust into a grimy, muddy paste once you add moisture.
For the best results, snap on your vacuum’s upholstery brush attachment. Go over the entire mattress in slow, overlapping rows. Give a little extra love to the seams and crevices, as that’s where dust mites and other allergens tend to congregate. Don't forget the sides, either!
The Trick to Spot Cleaning Stains
With the surface debris gone, you can now zero in on any specific stains. The most important rule to remember is to blot, never scrub. Scrubbing might feel productive, but it actually forces the stain deeper into the memory foam's cell structure, making it a permanent resident.
Here’s a simple but powerful cleaning solution you can mix up yourself:
- In a spray bottle, combine lukewarm water with a small amount of mild, clear dish soap. A good ratio is about one teaspoon of soap to one cup of water.
- Lightly mist the stained area. The key here is mist—don't soak the foam.
- Take a clean, dry cloth and gently blot the stain, working from the outside edge toward the center. This keeps the stain from spreading.
Keep blotting with a fresh part of the cloth until the stain begins to lift. You might need to repeat the process for tougher spots, but patience is your friend here. This gentle method is the best way to treat the stain without harming the foam. For more advice on keeping your bed fresh, you can check out our other mattress care tips to keep cool and clean all summer long.
Deodorize to Bring Back That Fresh Feeling
After you’ve handled the stains, it's time to deodorize the whole mattress. This step is what really gets rid of any lingering smells from sweat, spills, or just everyday life. Your secret weapon for this mission? Plain old baking soda.
Sprinkle a generous, even layer of baking soda across the entire surface. Seriously, don't be shy—use a whole box if you need to. Now, let it sit for at least eight hours. If you can leave it on overnight, even better. The longer the baking soda sits, the more moisture and odor it will pull out of the foam.
A deep clean isn't just about what you can see. It's about disinfecting and neutralizing the hidden bacteria and allergens. Using baking soda to absorb odors is an incredibly effective trick, one that over 70% of consumers turn to for mattress cleaning.
Once the baking soda has had plenty of time to work its magic, vacuum it all up with your upholstery attachment. Be meticulous and make sure you get every last grain.
The Most Critical Step of All: Drying
You must ensure your memory foam mattress is completely dry before you use it again. Any lingering moisture is a recipe for mold and mildew, which will absolutely ruin your mattress for good.
The cleaned areas need to air dry completely. To help things along, open some windows to get the air moving or set up a fan to blow directly on the damp spots. The foam needs to be 100% dry to the touch before you even consider putting on a mattress protector or sheets. Following these steps doesn't just clean your mattress—it preserves its comfort and helps it last for years to come.
How to Tackle Tough Stains and Odors
Let's be real—life is messy. That morning coffee sometimes misses your mouth, pets have accidents, and sweat stains just happen over time. But none of these mishaps have to spell disaster for your memory foam. With the right know-how, you can tackle these messes head-on without damaging the foam.
The trick isn't to scrub harder or use harsh chemicals. It’s about using the right solutions for the right kind of stain, all while being gentle and keeping moisture to a minimum.
Conquering Common Stains and Smells
For a lot of everyday spills and general discoloration from sweat, you can whip up a powerful cleaning paste right in your kitchen. This is a go-to for lifting those surface-level stains and getting rid of faint odors.
You just need a few common household items:
- Mix equal parts baking soda, salt, and water until you have a thick paste.
- Gently rub the paste onto the stain and just let it sit for at least 30 minutes.
- Once it's dry, just brush off all the residue with a clean cloth.
- Then, take a damp cloth and lightly dab the area to pick up any leftover paste before letting it air dry.
Why does this work so well? The baking soda is fantastic at absorbing odors, and the salt provides a very gentle abrasion to help you lift the stain right off the foam.
Handling Tougher Organic Stains
Things like urine or blood are a different beast entirely. These organic stains are protein-based, so they need a more targeted game plan. While memory foam is a unique material, some of the same principles you'd use for furniture apply here, and you can find some great general tips in guides on effective upholstery stain removal techniques.
For these kinds of stains, a 50/50 solution of cool water and distilled white vinegar in a spray bottle is an excellent tool. Vinegar is a natural disinfectant, and its acidic properties are great at breaking down the uric acid found in urine.
The most important thing for you to remember is to act fast. A fresh stain is a hundred times easier to get out than one that’s had hours to set deep into the foam.
Give the stain a light misting—you never want to soak memory foam. Gently blot the area with a clean, dry cloth, pressing down firmly to pull the liquid up and out. After you’ve lifted as much of the stain as you can, cover the damp spot with a thick layer of baking soda. This will help deodorize and pull out that last bit of moisture. Just let it sit for a few hours (or even overnight) before vacuuming it all up.
Your Secret Weapon for Stubborn Messes
What about those really stubborn biological stains that just won't budge? That's when you bring out the big guns: an enzyme cleaner.
These cleaners are incredible. They use special enzymes that are literally designed to break down and consume the protein molecules in things like pet urine, sweat, and other organic messes. They don't just cover up the smell; they completely eliminate the source.
When you're shopping for one, make sure you grab a formula that’s marked as safe for upholstery or foam. Follow the directions on the bottle, and you’ll be amazed at how well it can restore your mattress to its former glory, keeping your sleep space the clean, fresh sanctuary it’s meant to be.
Caring for Memory Foam Pillows and Toppers
Your mattress is the main event, but don't forget about the supporting cast: your memory foam pillows and toppers. They're essential for a great night's sleep, but they also tend to need cleaning more often. Because of their size and construction, they require a slightly different, more delicate approach than a big mattress.
Think about it—pillows and toppers are in direct contact with your head and body, absorbing sweat, oils, and allergens nightly. Keeping them fresh isn't just about cleanliness; it's about empowering you to create a truly restful and healthy sleep environment from top to bottom.
A Gentle Approach for Pillows
Here’s the golden rule for memory foam pillows: never, ever put them in a washing machine. The machine’s agitation will shred the foam, leaving you with a lumpy, useless mess. Instead, a careful hand-washing is the way to go.
Here's how you can do it right:
- Grab a large sink or a bathtub and fill it with lukewarm water. Add just a small amount of a mild, liquid laundry detergent.
- Fully submerge the pillow and gently squeeze it, almost like a sponge. This works the soapy water all the way through the foam. Be gentle—no harsh wringing or twisting, as this can easily tear the delicate foam structure.
- Once you’ve worked the soap in, drain the tub and refill it with clean, cool water. Keep squeezing the pillow until the water runs clear and all the suds are gone.
After the final rinse, press out as much water as you can without twisting the pillow. Lay it flat on a clean, dry towel in a well-ventilated room or, even better, outside in the sunshine. Be patient, as it can take a full 24 hours to dry completely.
Spot Cleaning and Deodorizing Toppers
Memory foam toppers are simply too big to submerge, so your strategy shifts to spot cleaning and regular freshening up. For spills or stains, use the same blotting technique we talked about for mattresses. A light spray of a 50/50 water and white vinegar solution or a mild soap mixture is your best bet.
For routine maintenance, a generous sprinkle of baking soda left for a few hours will work wonders to absorb odors. Simply vacuum it up afterward using a brush attachment. It's a simple trick that keeps things feeling fresh.
While the cleaning process is similar to mattress care, the key difference is the need for a much gentler touch. You want to avoid soaking the foam or using any harsh scrubbing motions that could damage its supportive structure.
Your best defense is a good offense. To extend the life and cleanliness of your memory foam pillows and toppers, consulting a buyer's guide to waterproof mattress topper protectors can provide invaluable insights on preventing messes before they happen.
Taking a little time to care for these crucial accessories is more than just cleaning—it's an investment in a healthier, more comfortable sleep experience. A great night's sleep is the foundation for a great day, and with these tools, you can ensure your sleep sanctuary is always ready for you.
Answering Your Top Memory Foam Cleaning Questions
Even with the right cleaning steps in hand, you probably still have a few questions. That's completely normal. Getting these details right is the key to keeping your memory foam mattress or pillow in great shape for years to come.
Let's clear up some of the most common concerns.
How Long Will It Actually Take to Dry?
This is probably the most-asked question, and the honest answer is: it depends. Generally, you’re looking at a drying time of 8 to 24 hours. The biggest factors are the humidity in your home and how much air is moving around.
To speed things up, get some air circulating. Open a window or set up a fan to blow across the damp area. Whatever you do, don't rush it. The foam must be 100% dry before you even think about putting sheets back on. Trapped moisture is a recipe for mold and mildew, and that's a problem you definitely don't want.
Is It Okay to Use a Steam Cleaner?
A direct answer: no, absolutely not. It might seem like a powerful way to get a deep clean, but using a steam cleaner on memory foam is a surefire way to ruin it.
Why is it such a bad idea? It comes down to two things: heat and moisture.
- Heat Kills the Foam: The high temperatures from a steamer will literally break down the foam's delicate structure. It'll lose that contouring, supportive quality you bought it for in the first place.
- Water Overload: Steam forces a ton of water deep inside the foam. It becomes almost impossible to get it fully dry, creating the perfect damp, dark environment for mold to thrive.
What If a Smell Is Still Hanging Around After I Clean?
You've cleaned a spill, but a faint odor is sticking around. It happens, especially with stronger messes. Your best friend in this situation is good old baking soda, and don't be shy with it.
Sprinkle a thick, generous layer over the entire area. Let it sit for as long as you can—seriously, a full 24 hours is not too long. The baking soda works by absorbing the odor-causing particles and any leftover moisture. Once its work is done, just vacuum it all up thoroughly. Your mattress should be back to smelling fresh and neutral.
Ready to make your life a whole lot easier? A quality mattress protector is your first and best line of defense. It handles the spills so you don't have to. At Miller Waldrop Furniture & Decor, our team can help you find the right protector to make future cleanups a total non-issue. Explore our collection and safeguard your investment today.