


Building Drawers for Cabinets: Pro DIY Guide

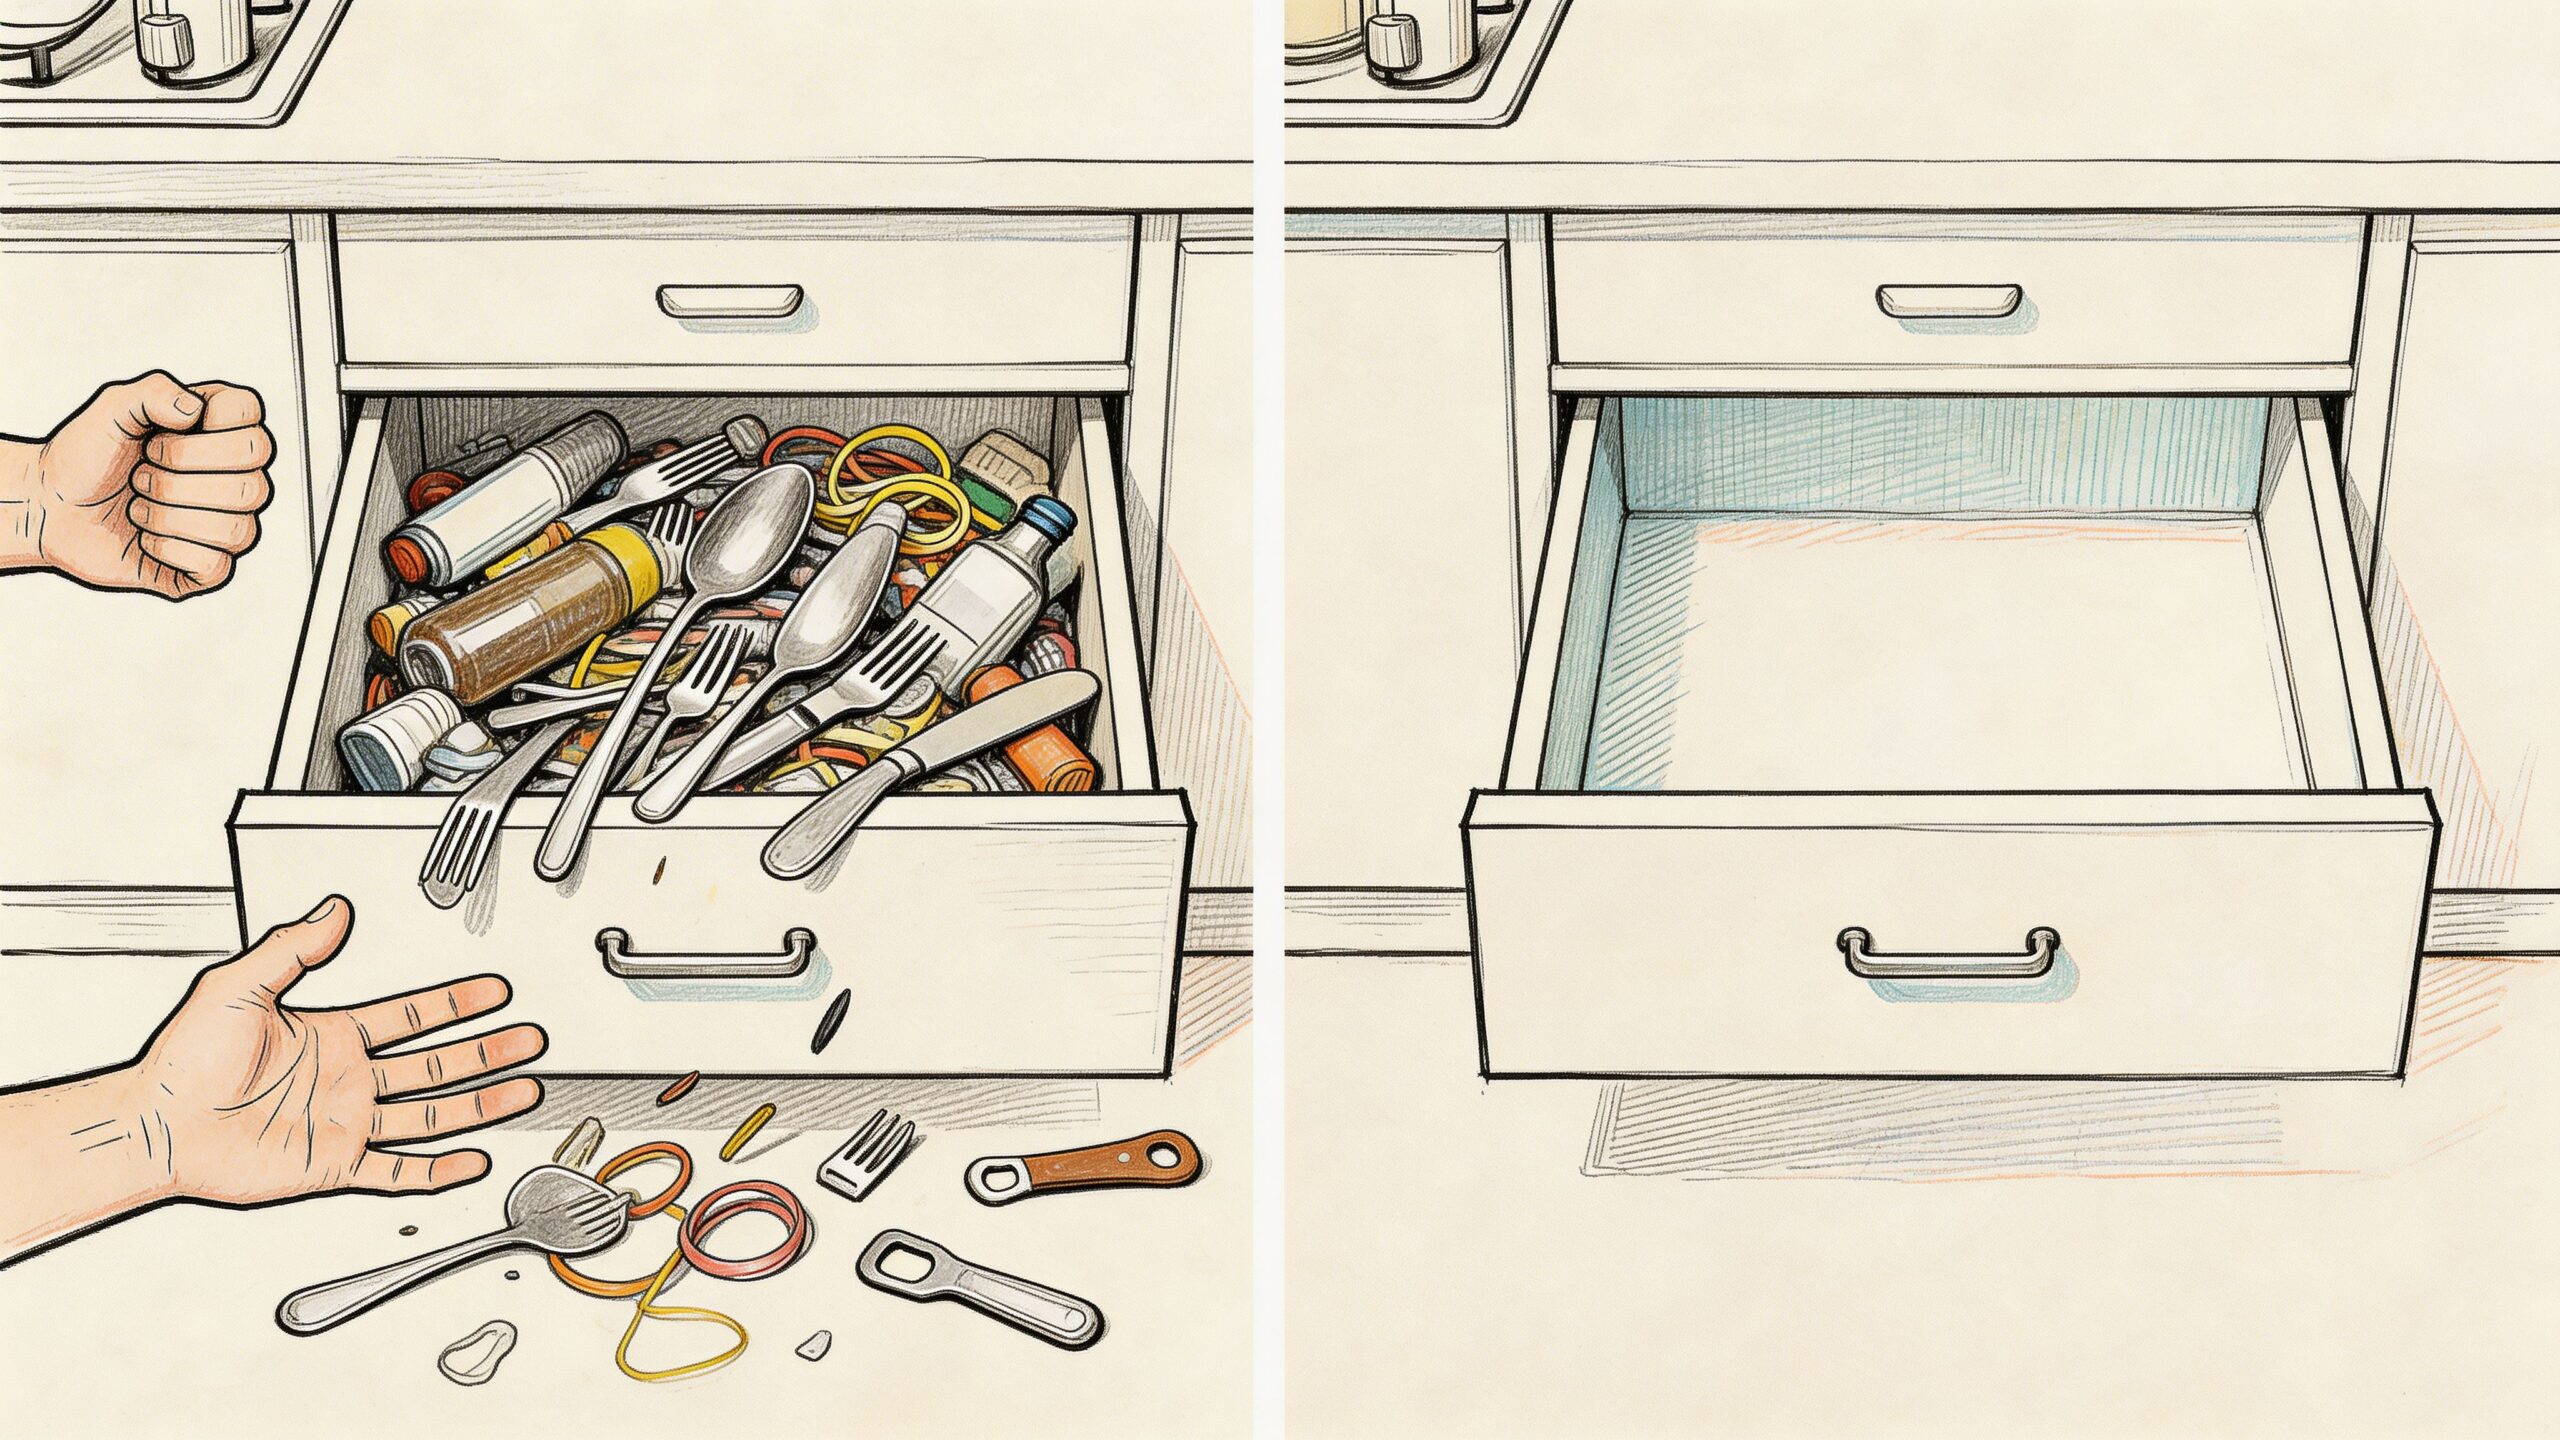
A lot of drawer projects start the same way. You kneel in front of a base cabinet, pull out a flimsy box that racks side to side, and dig through a mess of utensils, tools, socks, cords, or office supplies that never stay where they belong.
That frustration usually isn’t about storage volume. It’s about bad access, weak construction, and poor fit.
Building drawers for cabinets fixes all three. A well-built drawer turns dead space into usable space, keeps weight where it belongs, and makes the cabinet feel custom instead of improvised. If you’re working in West Texas or Southeastern New Mexico, there’s one more layer to get right. Heat, dust, and humidity swings punish sloppy work fast. A drawer that feels fine in the garage on build day can bind, loosen, or collect grit once it’s living in a real home.
A capable DIYer can absolutely build a high-quality drawer system. The difference between a drawer that lasts and one that annoys you every week comes down to planning, material choice, joinery, and installation discipline. Get those right, and the project becomes one of the most satisfying upgrades you can make.
Beyond the Box Why Quality Drawers Matter
A drawer usually earns your respect the first time it is full. A half-empty box can hide weak joinery, a thin bottom, or sloppy slide setup. Load it with cast iron, canned goods, files, or shop hardware, and the truth shows up fast.
A good drawer does more than open and close. It carries weight without racking, keeps the back of the cabinet usable, and holds its alignment through thousands of cycles. In West Texas and Southeastern New Mexico, it also has to survive dry air, fine dust, and seasonal moisture swings that punish loose construction. Wood shrinks, joints lose tension, and grit works its way into slides and corners.
Where cheap drawers fail
Low-cost drawers tend to fail in the same places, and the failures stack up:
- Corners loosen: Butt joints held with a few fasteners rarely stay tight under daily pulling and side load.
- Bottoms sag: A thin panel stapled underneath may hold light contents for a while, then starts to bow or split near the fasteners.
- Slides wear early: Slides installed out of parallel drag from day one, and dust makes that drag worse.
- Fit changes with the weather: Material that was not acclimated or chosen well for the job can shrink in dry conditions and swell during humidity spikes.
Manufacturers that build premium cabinetry put a lot of attention into drawer-box joinery, material thickness, and bottom support because those details control service life. The Kitchen Cabinet Manufacturers Association performance standards overview is a useful reminder that cabinet parts are expected to stand up to repeated real-world use, not just look good on installation day.
In our climate, quality matters even more. Fine dust from wind and everyday traffic settles into slide members, and wide humidity swings can expose weak tolerances that looked acceptable in the shop. If you want a drawer to keep working in Odessa, Midland, Lubbock, Carlsbad, or Hobbs, build it with stable material, tight joinery, and enough clearance to stay free without feeling sloppy.
Why this project pays off
Well-built drawers change how a cabinet works. Full access to the back saves time. Better support lets you store heavier items within easy reach. A square box with a solid bottom also feels different in use. It closes with control instead of chatter.
That matters in kitchens, closets, offices, mudrooms, and workshops. It matters even more in older cabinets that have decent face frames or boxes but poor storage inside. Rebuilding the whole cabinet is expensive. Building better drawers often gets most of the practical benefit for a fraction of the effort.
If you are still sizing the project, a clear guide on how to measure furniture openings accurately helps prevent one of the most common mistakes. Building a nice drawer that does not fit the cabinet.
What separates a solid DIY drawer from a disappointing one
Three decisions make the biggest difference:
- Use material that stays stable in your house, not just in the garage
- Choose joinery and bottom construction based on the load
- Install slides dead level, dead parallel, and clean
Get those right and the drawer will feel professional every time you use it. Miss them, and you will fight the drawer for years.
Your Blueprint for Perfect Drawers
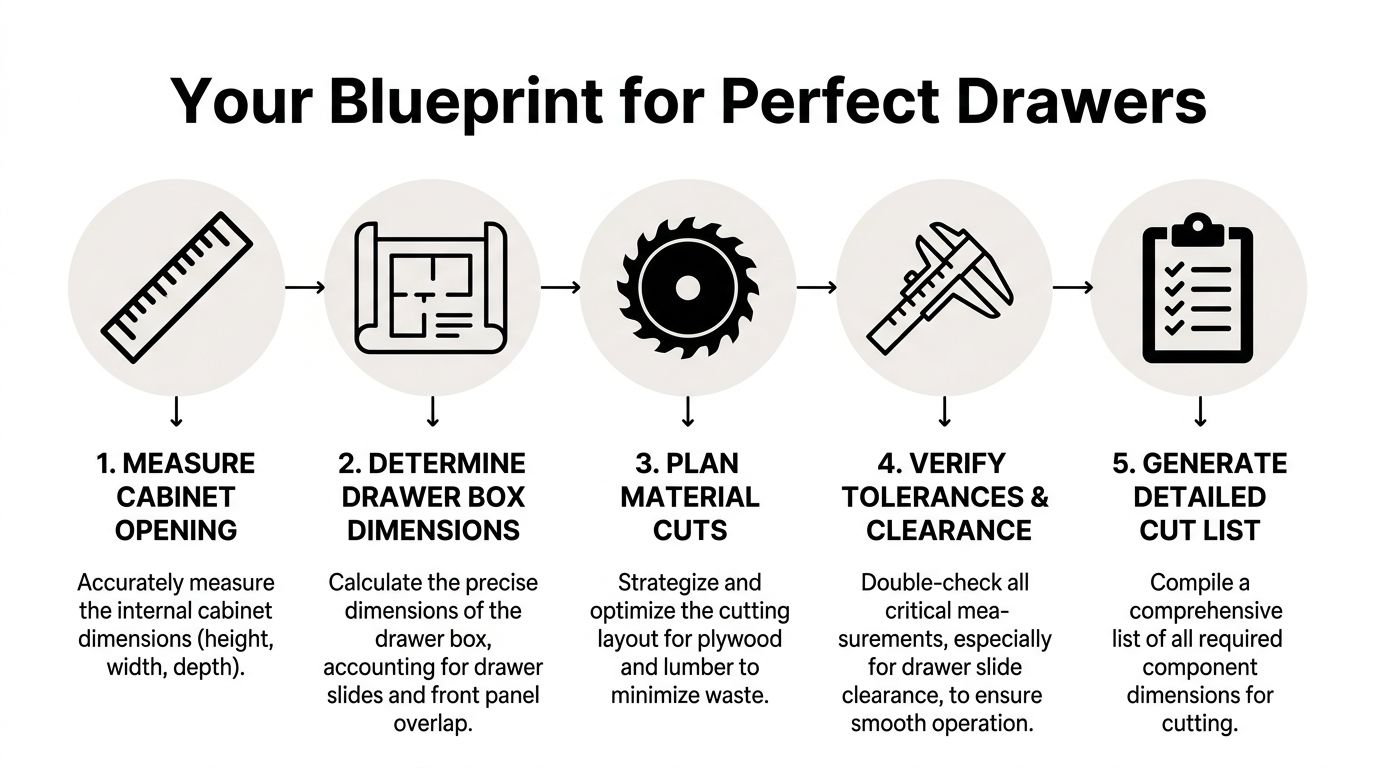
Most drawer problems start before the first cut. The box is too wide, too tall, too deep, or planned around a guess instead of the actual opening and hardware.
A clean build starts with the cabinet, not the plywood.
Measure the cabinet opening correctly
Take inside measurements in three places for width and height. Front, middle, and back for width. Left, center, and right for height. Use the smallest number if the cabinet is out of square. That protects you from building a drawer that only fits on paper.
Depth needs the same honesty. Measure from the inside front of the cabinet to the back obstruction, not just to the back panel if there’s plumbing, a rail, or wiring in the way.
If you’re unsure whether your cabinet opening is being measured the right way, a visual sizing guide like how to measure furniture helps clarify where measurements begin and end.
Let material thickness drive the math
New builders often overlook this detail. They focus on outside dimensions and forget that side thickness controls almost everything.
Expert guidance from Instructables notes that dimensional calculations hinge on material thickness for many projects. It also gives a useful example: for a 22-inch frameless opening using 3/4-inch material for the sides, the drawer box width becomes 21 inches. The same source notes that using jigs and templates helps achieve a high success rate, compared with freehand work in this drawer-building guide.
That one example tells you a lot. Drawer sizing isn’t guesswork. It’s subtraction.
A simple planning sequence
Use this order every time:
- Identify the cabinet type
Frameless cabinets and face-frame cabinets need different slide allowances and mounting strategies. - Choose the slide first
Side-mount and undermount slides don’t ask for the same clearances. - Confirm your material thickness
Don’t assume nominal thickness. Measure the actual stock. - Set your box height
Leave room for smooth operation and the drawer front reveal you want. - Shorten depth for hardware clearance
A drawer that nearly hits the cabinet back isn’t efficient. It’s risky.
Measure the opening. Measure the material. Measure the slide requirement. If those three numbers agree, the drawer usually behaves.
Frameless versus face-frame planning
A frameless cabinet is simpler to layout because the interior sides are usually flat and accessible. Your slide mounts directly to the cabinet wall.
A face-frame cabinet adds one more decision. You may need spacers or rear mounting hardware to bring the slide flush with the frame opening. If you skip that detail, the drawer can run crooked even if the box itself is perfect.
Build a cut list before touching the saw
A cut list keeps the project from turning into mid-build math. It should include every part of every drawer:
- Left and right sides
- Front and back pieces
- Bottom panel
- Drawer fronts if they’re separate
- Spacer blocks or mounting strips if needed
Write the final dimensions down. Label grain direction if appearance matters. Mark which parts receive grooves or dadoes. Note which edge faces front. This sounds basic, but it prevents the common mistake of milling identical-looking parts that are not interchangeable.
Tolerance matters more than optimism
A good drawer doesn’t need heroic sanding at the end. It needs accurate planning at the start.
Before cutting all parts, make one test setup. Dry-fit the side material, bottom groove location, and slide clearance. If your first test piece feels too snug, believe it. A “close enough” fit in a drawer opening usually becomes a “why is this binding?” problem after assembly and finish.
A practical blueprint you can trust
When planning drawer dimensions, check these points before moving on:
- Opening size is based on the smallest real measurement
- Material thickness is measured, not assumed
- Slide type is already selected
- Bottom groove placement is accounted for
- Cabinet depth leaves room for the slide and for clearance
- Your cut list matches the actual cabinet, not a sketch from memory
Building drawers for cabinets gets much easier once the math is settled. At that point, you’re not improvising. You’re executing.
Gathering Your Tools and Materials
A drawer project doesn’t require a giant shop, but it does require honest choices about tools and stock. Some builds fail because the joinery was weak. Many more fail because the wood moved, the bottom swelled, or dust and finish issues were ignored.
That’s where regional climate stops being a side note and becomes part of the build plan.
The core tool kit
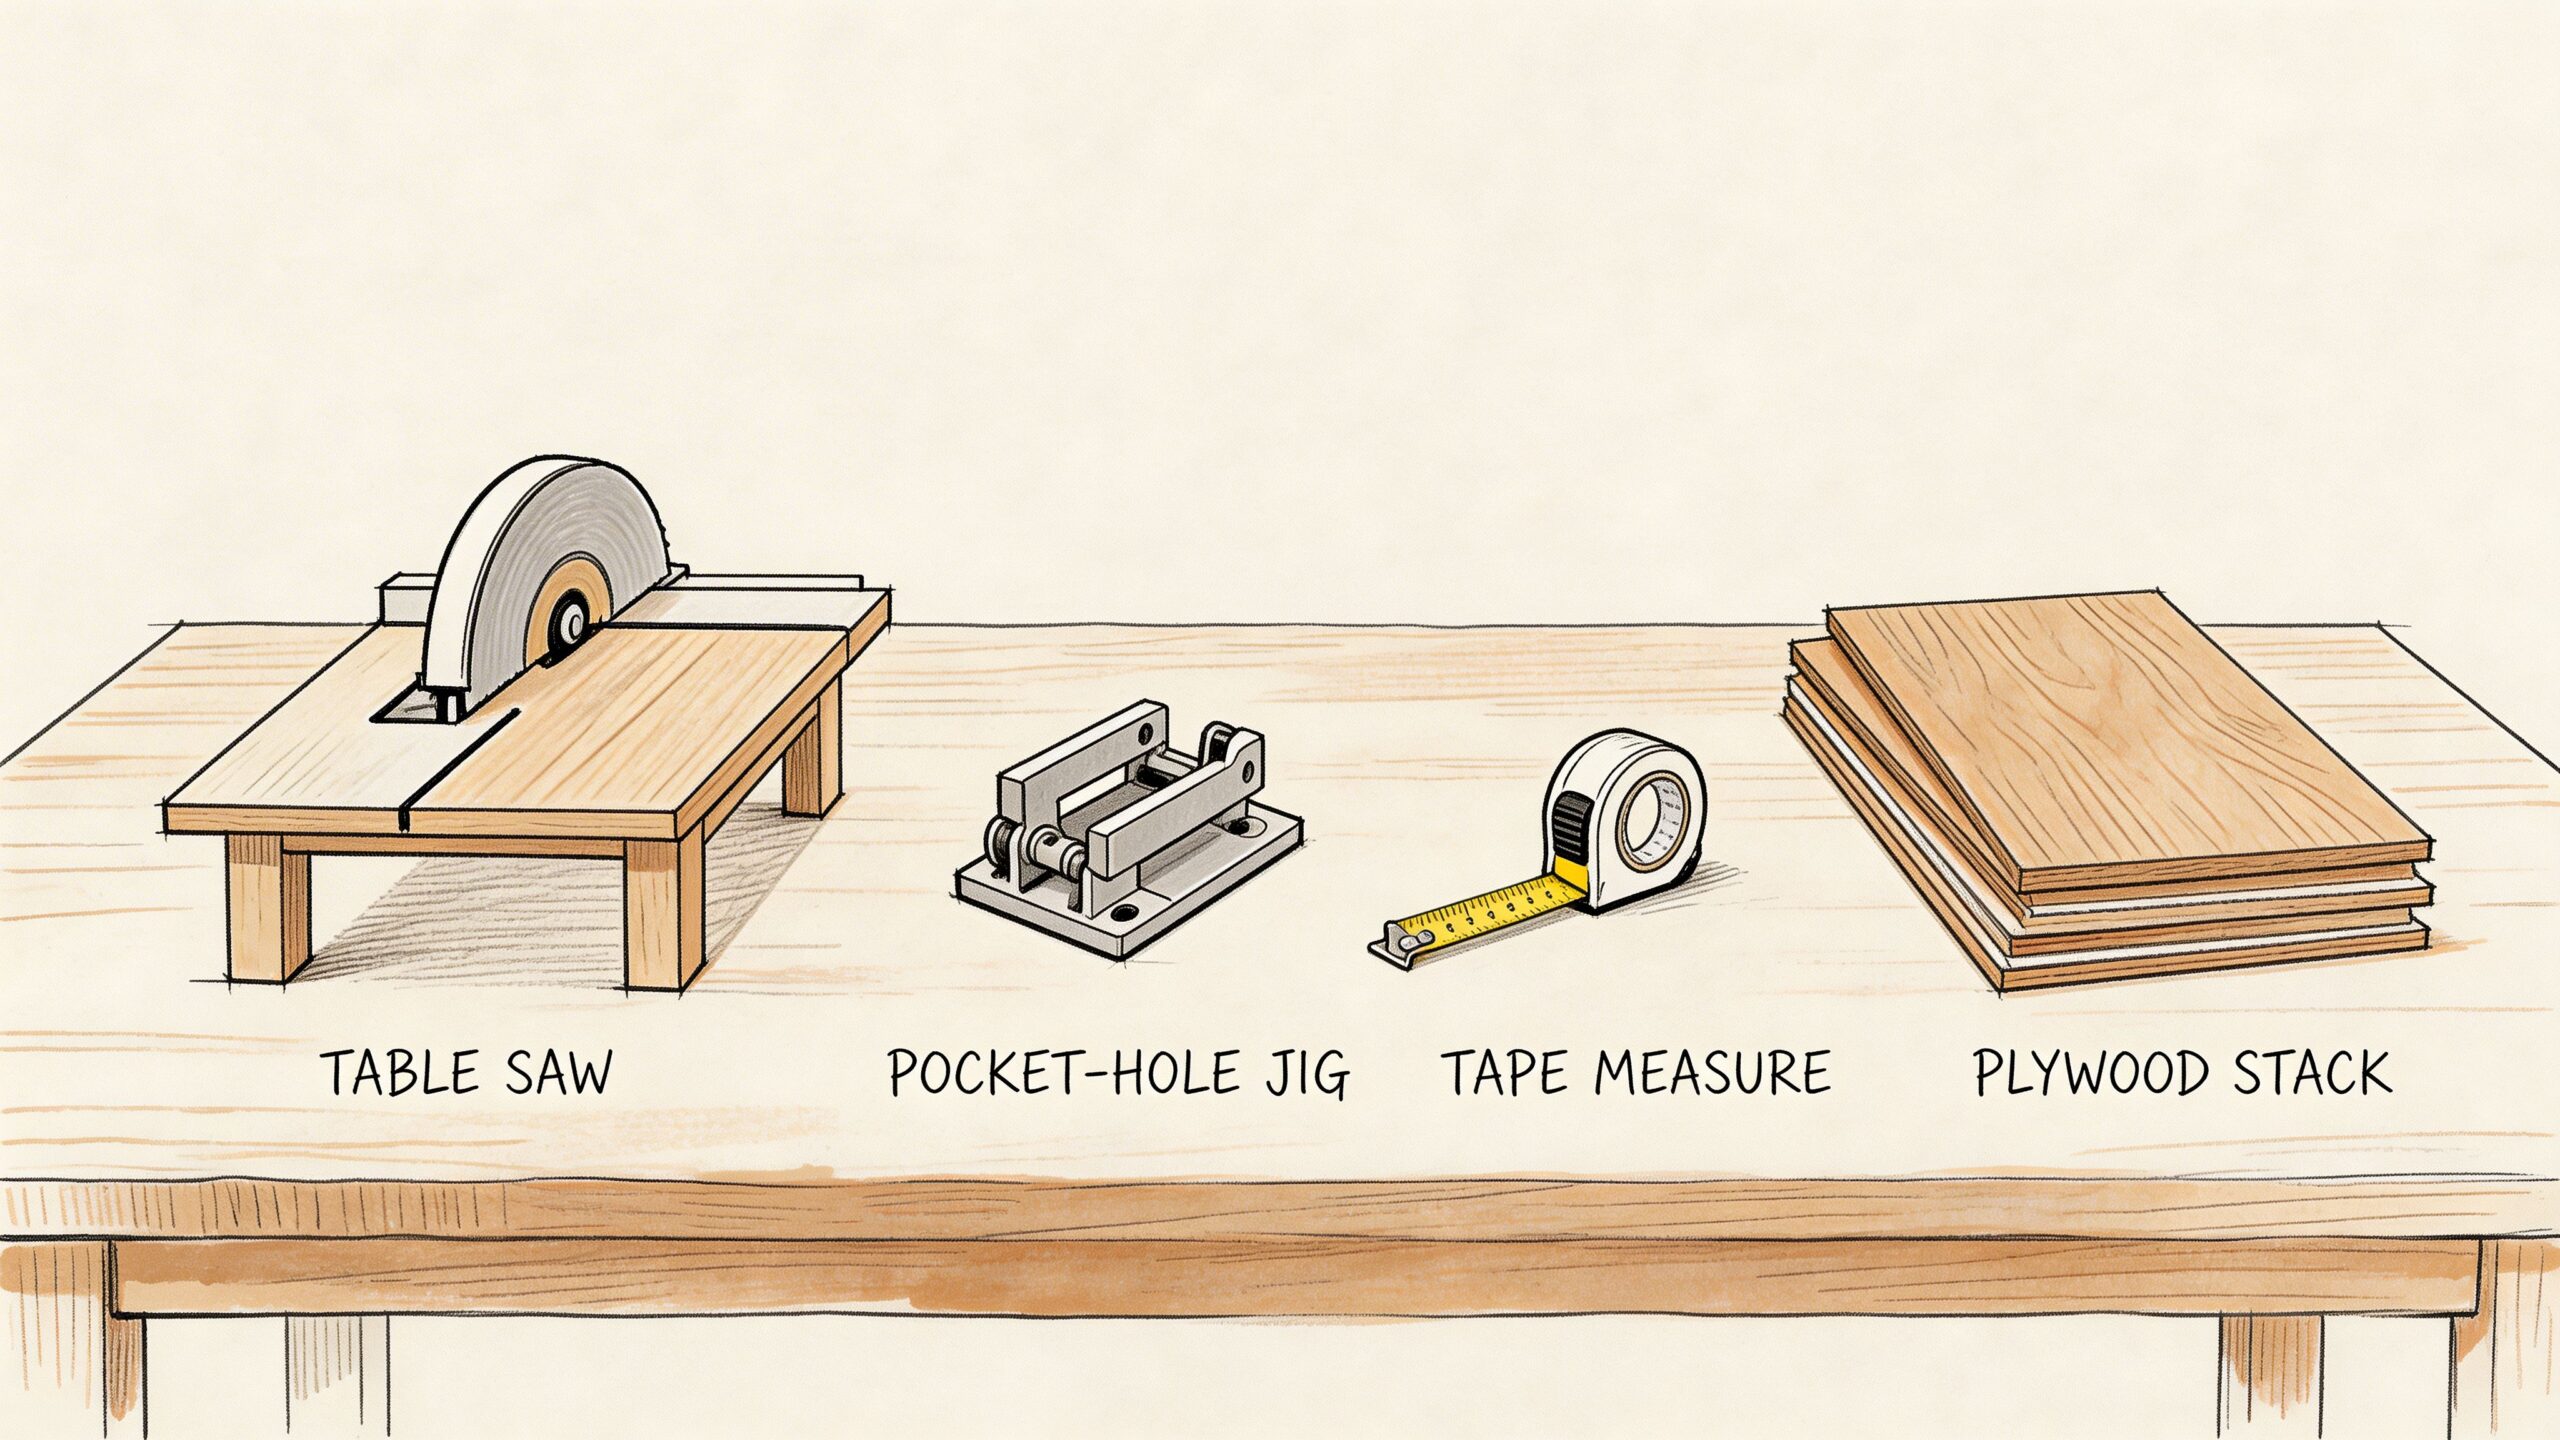
You can build excellent drawers with a modest setup if the tools are accurate and tuned.
The tools that pull the most weight
- Table saw or track saw: For straight, repeatable cuts on sides, fronts, backs, and bottoms.
- Pocket-hole jig: Fast, forgiving joinery for many DIY drawer builds.
- Dado blade or router setup: Useful if you want housed joints or grooves for the drawer bottom.
- Tape measure and combination square: Layout errors come from sloppy measuring more than bad cutting.
- Clamps: A drawer box needs help staying square during glue-up.
- Drill and driver: For predrilling, assembly, and slide installation.
- Sanding block or random orbit sander: Clean edges matter, especially around slide clearance.
A jig or template is one of the smartest upgrades for this kind of work. It reduces drift, keeps repeat parts consistent, and removes a lot of avoidable frustration.
Plywood, hardwood, and climate reality
Material choice always involves trade-offs.
Hardwood drawer sides look great and feel substantial. Quality plywood stays flatter and is often easier for a first-time builder to machine consistently. Furniture board can work in some low-demand applications, but it’s not my first choice when a drawer will see daily weight and motion.
For West Texas and Southeastern New Mexico, movement matters as much as strength. The local environment can be hard on drawers because arid heat dries stock aggressively, then seasonal humidity shifts can move it again.
A climate-focused recommendation from the Southwest DIY angle is worth taking seriously. For regional conditions with heat and humidity swings, locally acclimated pine can outperform Baltic birch in some builds because it shrinks less. That same guidance recommends pre-acclimating lumber for 1 to 2 weeks in local conditions and using polyurethane as a dust-resistant finish. It also notes that this approach can prevent a significant percentage of long-term structural issues reported by DIYers in similar climates in this regional drawer-building discussion on wood movement and sealing in hot, dusty conditions.
That doesn’t mean pine is always better. It means local performance should influence your decision more than online consensus.
A practical material decision guide
Here’s how I’d think through it:
- Choose plywood when you want stable panels, crisp machining, and less concern about seasonal movement at the drawer sides.
- Choose solid hardwood when appearance matters, you can machine it well, and the drawer deserves premium joinery.
- Choose acclimated local stock when your home environment is especially dry or you know the drawer will live through hard seasonal swings.
For a broader look at wood behavior in furniture projects, best wood for tables is useful because many of the same movement and durability principles apply.
In dry, dusty climates, the best material isn’t the one the internet praises most. It’s the one that stays stable in the room where the drawer will live.
Don’t skip the finish plan
A drawer finish isn’t only about color. It changes how the box wears, how easy it is to wipe out, and how much dust clings inside.
Good choices include:
- Clear polyurethane: Durable and practical when dust resistance matters.
- Paint: Fine for some utility drawers, but it can chip on edges if prep is weak.
- Stain plus topcoat: Works well when appearance matters and the drawer front is visible.
Inside utility drawers, I usually favor a clean, sealed surface over a decorative one. In this region, a sealed interior helps with dust cleanup and slows moisture exchange.
Gather before you start
Before cutting, lay out all hardware, confirm slide type, and stack your stock in the room or shop where it can acclimate. Drawer projects go smoother when you remove surprises early. The best builds feel calm because the prep work did the heavy lifting.
Constructing the Drawer Box with Confidence
A drawer box earns its reputation at the bench. If the parts are milled cleanly, the joinery fits without force, and the box closes up square, the install usually goes smoothly. If the box starts twisted or loose, no slide adjustment will fully hide it.
In West Texas and Southeastern New Mexico, that matters even more. Dry air shrinks parts fast, fine dust gets into everything, and stock that felt stable in the shop can change once it sits inside a conditioned house. Build for that reality, not for a generic tutorial.
Choose joinery that matches the drawer’s job
Good joinery is the kind you can cut accurately, repeatably, and cleanly with the tools you have.
Dovetails are excellent. So are dadoes, locking rabbets, and well-planned pocket screws in the right application. For a first high-quality cabinet drawer, I usually point DIY builders toward dado or tongue-and-groove construction because it gives you alignment during glue-up, solid long-term strength, and a cleaner look than a basic screwed butt joint.
Here’s the practical trade-off:
| Joinery Type | Skill Level | Required Tools | Strength & Appearance |
|---|---|---|---|
| Pocket hole joints | Beginner | Pocket-hole jig, drill, clamps | Good for utility, shop, and closet drawers where the fasteners stay hidden. Fast, but not refined. |
| Butt joints with screws and glue | Beginner | Drill, driver, clamps | Serviceable for light-duty use. Less durable under years of slamming and heavy loads. |
| Dado or tongue-and-dado joints | Intermediate | Table saw or router, dado setup, clamps | Strong, accurate, and easier to keep square during assembly. A solid choice for cabinet drawers. |
| Dovetail joints | Advanced | Dovetail jig or hand tools, router or chisels | Excellent mechanical strength and a premium look. Best when the joinery will be seen or the drawer needs top-tier longevity. |
If you are also sorting out shelf and storage dimensions elsewhere in the house, this guide on how to build a closet organizer uses many of the same layout habits that make drawer parts come out accurately.
Cut in batches, then verify before you groove
Drawer work rewards repetition. Mill all the sides together, then all the fronts and backs, and use a stop block for repeated crosscuts. That keeps one drawer from drifting a sixteenth wider or taller than the others.
A reliable order looks like this:
- Rip the sides to final height.
- Crosscut fronts and backs to length.
- Dry-fit one box and confirm your dimensions.
- Cut the grooves or dadoes for the bottom.
- Size the bottom panels last.
That third step saves a lot of grief. In dry climates, sheet goods and solid stock can both surprise you after a day in the shop, especially if the material came from a yard with different humidity conditions.
Cut a captured bottom and leave room for the panel to behave
A bottom panel set into grooves strengthens the whole drawer. It spreads weight across the box and keeps the assembly from relying only on screws at the corners.
The panel should slide into the groove without pounding it in, because forcing the bottom into place can rack the box before the clamps are even on. For many cabinet drawers, a moderately thick bottom works well. Heavier kitchen drawers or wide pot-and-pan drawers often deserve thicker material or a better grade of plywood. The key is fit.
In this region, plywood is usually the safer call for bottoms because it moves less than solid wood. If you do use solid wood in a drawer component, leave the proper room for seasonal movement and avoid trapping it so tightly that it splits later.
Assemble for square
Dry-fit first. Every time.
Set the parts together on a flat surface, check the corners, and measure both diagonals. If the diagonal measurements match, the box is square. If they do not, fix the fit before glue enters the picture.
My assembly routine stays simple:
- Apply glue only where the joint needs it.
- Bring the box together with light clamp pressure.
- Check diagonals before driving any screws or pins.
- Slide the bottom panel in at the correct stage for your design.
- Recheck for square after the clamps come on.
Too much clamp pressure causes problems. It can bow thin sides, shift a pocket-screwed corner, or squeeze a box out of alignment while everything still looks fine from above.
Build clean now, and the drawer stays cleaner later
Dust is hard on drawers in West Texas and Southeastern New Mexico. It settles in slide hardware, collects in raw wood fibers, and turns rough interiors into a chore to wipe out. Tight joinery helps, but so do small build choices.
Ease the top edges with a light pass of sandpaper. Clean glue squeeze-out before it hardens. Flush up corners so there are no ledges inside the drawer catching grit.
Hardware prep matters too. If you are new to fastener selection, screw types, or pilot-hole habits, these DIY tips for installing building hardware are a useful reference before you commit to assembly.
What usually works best on a first serious drawer project
Pocket holes are fine for hidden utility drawers. Butt joints are acceptable for very light duty. Dovetails are worth learning if you want the traditional look and have the patience to cut them well.
For many capable DIYers building cabinet drawers for the first time, dado-style construction is the best middle ground. It gives you mechanical alignment, clean assembly, and dependable strength without turning the project into a joinery exercise.
Check each finished box on its own. Even with careful cutting, one drawer may need a light trim pass or a touch of sanding on a side. That is normal shop work, especially where dry conditions can make material act a little different from one week to the next.
Installing Slides and Fitting Drawer Fronts
A great drawer box still fails if the slides go in crooked. Most “bad drawers” are really installation problems.
This part rewards patience more than speed.
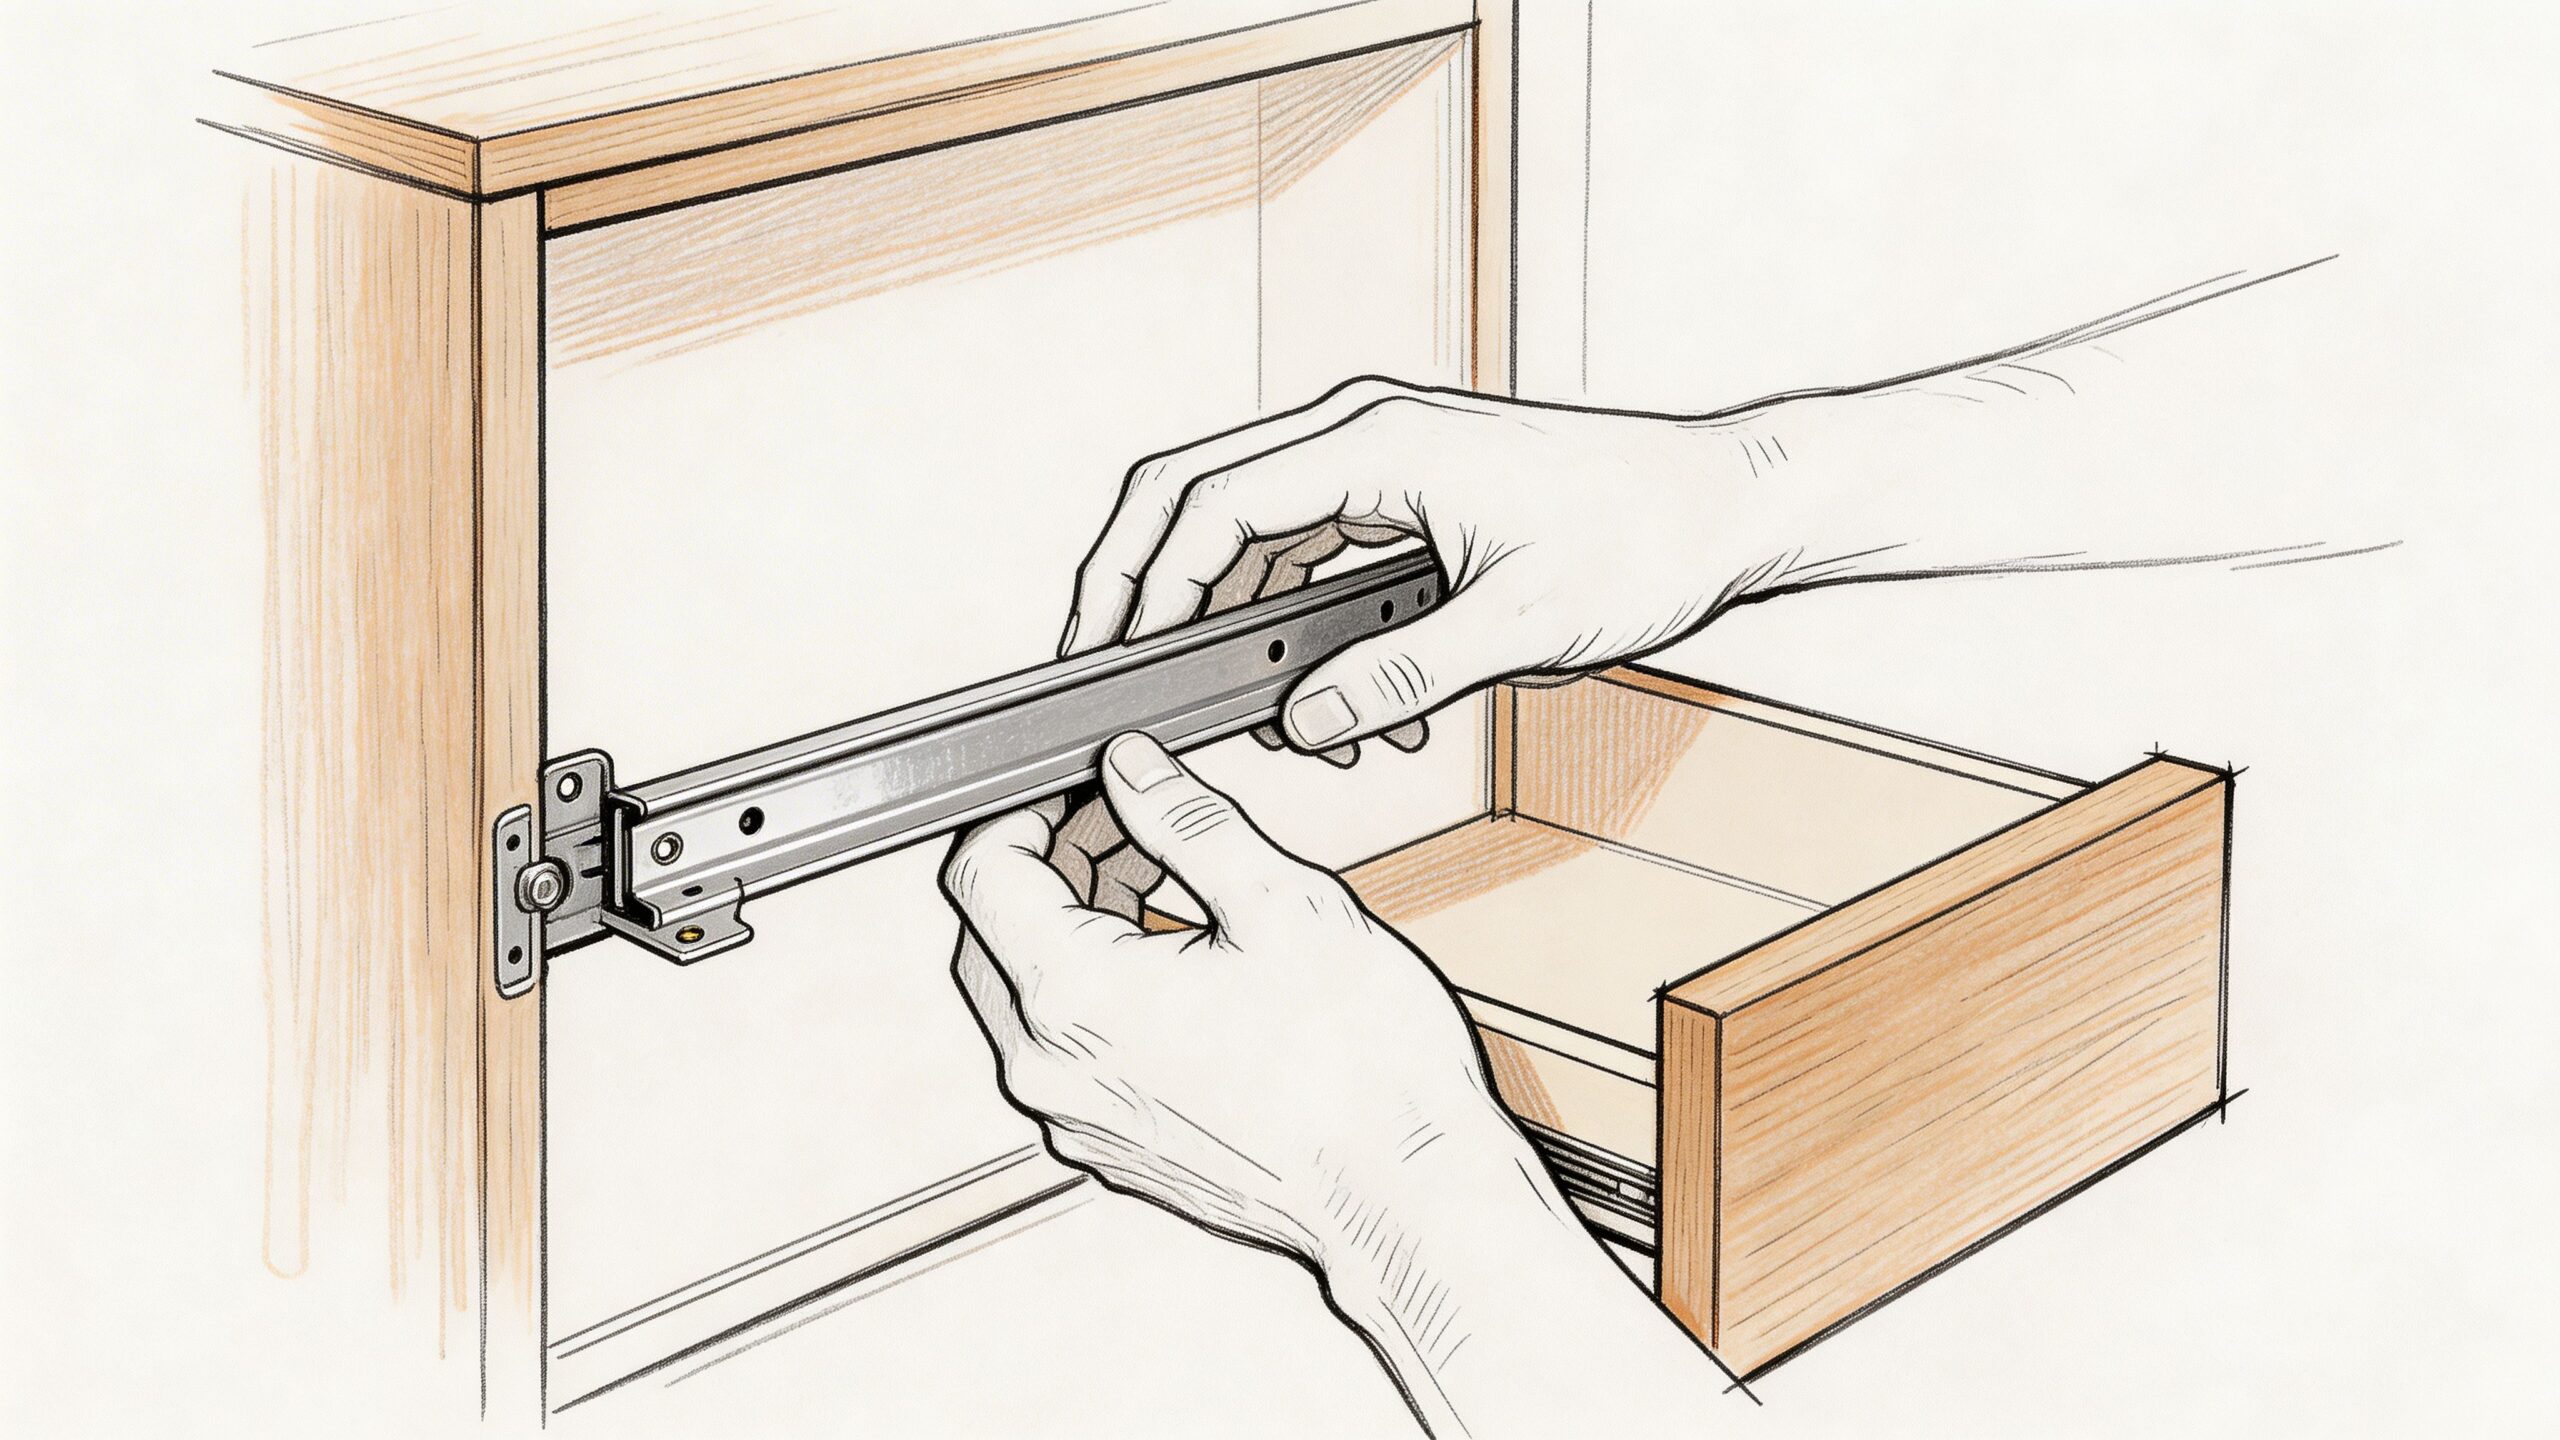
Start with a level reference
Don’t trust the cabinet floor automatically. Mark a level reference line for the slide position on both sides of the cabinet opening. If the cabinet is out of square, your reference line matters more than what “looks right.”
For frameless cabinets, a common standard is to build the drawer box 1 inch narrower than the opening to accommodate slides. During installation, 1/4-inch shims are critical for alignment, and a significant portion of sticky drawer issues come from off-square frames during slide mounting, according to Woodshop Diaries’ practical guide to building and installing cabinet drawers.
That figure tracks with shop experience. Most sticky drawers come from the opening and hardware setup, not from the drawer box itself.
Side-mount versus undermount
Side-mount slides
These are visible when the drawer is open, usually straightforward to install, and forgiving for many DIYers. They need consistent side clearance and careful parallel alignment.
Undermount slides
These hide beneath the drawer, give a cleaner look, and are popular for higher-end builds. They often require more precise bottom and side details, but the finished result looks much more refined.
If you’re doing your first high-quality project, there’s no shame in choosing the system you can install accurately. A perfectly installed side-mount slide beats a badly installed undermount every time.
A repeatable installation method
Use a process, not intuition.
- Mark the slide location on both cabinet sides from the same reference.
- Support the slide with shims instead of trying to hold it by hand while driving screws.
- Use slotted holes first so you can adjust before locking the position.
- Install one drawer and test it before mounting the remaining sets.
- Check for parallel movement by opening and closing slowly. Don’t slam-test.
For builders who want more hardware-focused help on alignment, fasteners, and clean installation habits, Yasu Trading Co. LLC has a helpful article on DIY tips for installing building hardware that pairs well with drawer slide work.
Smooth travel comes from parallel lines, not force. If a drawer needs a shove, something is out of alignment.
Fitting the drawer front
The drawer front is where people notice your craftsmanship. Small gap inconsistencies stand out fast.
If the drawer front is separate from the box, treat it like finish carpentry. Start by centering it visually in the opening. Use spacers or playing-card shims to hold even reveals while you fasten it from inside the drawer box.
What keeps fronts looking professional
- Consistent reveal: Match the gaps around adjacent doors and drawers.
- Temporary double-sided tape or clamps: Useful for holding position before screws go in.
- Drill from inside the box carefully: A wandering screw can shift the front at the last second.
- Add the handle after the front is fixed: Hardware holes are easier to place once the front is final.
If the front looks slightly off, remove it and reset it. Don’t talk yourself into accepting misalignment. You’ll see it every day.
Troubleshooting common drawer problems
The drawer sticks halfway
Check whether the slides are level and parallel. Then inspect the cabinet opening for twist. Many slide issues begin with mounting surfaces that weren’t corrected before installation.
The drawer drifts to one side
One slide is likely higher, lower, or farther forward than the other. Re-check your reference lines and screw positions.
The front gap is uneven
The box may be fine. The front just needs repositioning. Loosen the mounting screws, use spacers, and reset it with deliberate pressure.
The drawer closes but feels rough
Look for finish buildup, dust in the slide, screw heads interfering with movement, or a bottom panel rubbing because the box shifted out of square during assembly.
A clean install changes how the whole cabinet feels. When the slides move and the front lands with even reveals, the project stops looking homemade and starts looking intentional.
Finishing Touches and Professional Alternatives
A drawer that fits well can still age badly if you leave the wood raw or rush the last steps. In West Texas and Southeastern New Mexico, dry air, sudden humidity swings, and fine dust work on drawers year-round. A good finish slows that exchange, makes cleanup easier, and helps the drawer keep its crisp feel instead of turning fuzzy, dirty, or rough inside.
Choose a finish for the job
Drawer interiors do not need the same treatment as a show face. The goal inside the box is a surface that stays clean, feels smooth to the hand, and does not grab dust or stain easily from kitchen spills, grit, or lint.
For many cabinet drawers, a clear protective coat is the practical choice. Water-based polyurethane dries faster and keeps the wood looking lighter. Oil-based products usually build a harder-feeling film, but they cure slower and can add odor and amber color. In our regional climate, either can work well if the wood has acclimated first and the finish gets full cure time before use.
If you want to compare product types before buying, a supplier page focused on finishing coatings can help you sort through clear protective options and surface treatments.
A finishing routine that holds up
Sand in stages
Pre-sand the parts before final assembly where you can. It is faster, flatter, and easier on the corners. After assembly, do a light pass to break sharp edges, clean up glue squeeze-out, and remove handling marks.
Seal the inside as carefully as the outside
Drawer interiors take abrasion every day. They also collect the West Texas dust that seems to find every gap in a house. A sealed interior wipes out faster and does not hold grime the way raw wood does.
Finish both faces when movement is a concern
You are not trying to make wood stop moving. You are trying to slow uneven moisture exchange. That matters more with solid-wood parts than plywood, and it matters even more in our climate where material can change quickly between the shop, the garage, and the conditioned house.
Let it cure before loading the drawer
Dry to the touch is not ready for service. Stack tools, silverware, or folded clothes into a drawer too soon and the finish can print, scuff, or collect dust in the surface.
The best drawer finish is the one that still feels easy to live with six months later.
When building your own drawers makes sense
Build them yourself when the openings are predictable, the fit matters more than fancy joinery, and you have the patience to work to tight tolerances. It also makes sense when off-the-shelf drawer boxes waste space or do not account for the way your cabinets were built.
DIY has another advantage in this region. You can let your plywood or solid stock acclimate in your own shop conditions, check it again before final sizing, and make small adjustments that factory-made parts do not allow. That extra control often matters more than speed.
When a professional option is the smarter call
Some drawer projects fight back. Older cabinets can be out of square, face frames can vary from opening to opening, and matching an existing stain or lacquer schedule can take more time than building the box itself.
Professional help is worth considering when the drawer fronts must match built-ins or furniture exactly, when the room carries a higher design standard, or when you need spray-applied finishes that are hard to duplicate in a home shop without dust contamination. A hybrid approach works well too. Build shop or utility drawers yourself, then hand off exposed fronts or finish work when the room calls for a cleaner, furniture-grade result.
Your Cabinet Drawer Questions Answered
What’s the best wood for a first drawer project
Stable plywood is usually the easiest starting point because it machines predictably and keeps box parts consistent. In our regional climate, acclimated local stock can also be a smart choice if movement is your main concern.
Do I need dovetails for strong drawers
No. Dovetails are excellent, but they’re not the only path to durable drawers. Clean dado-style joinery or well-executed pocket-hole construction can serve many cabinet applications very well.
Why does my drawer fit in the shop but bind in the cabinet
Usually because the cabinet opening isn’t perfectly square, the slides aren’t parallel, or the material moved after cutting. That’s why dry-fitting and acclimation matter so much.
Should I build the drawer front as part of the box
For basic utility drawers, that can work. For a more custom look, a separate applied front gives you better control over reveals and alignment.
How do I reduce dust inside drawers
Seal the interior surfaces, choose a finish that wipes clean easily, and make sure the drawer front fits cleanly against the cabinet opening without obvious gaps.
If you’re planning a storage upgrade, refreshing a room, or trying to make custom cabinetry work with the rest of your home, Miller Waldrop Furniture & Decor is a strong next step. Their team serves West Texas and Southeastern New Mexico with personalized design help, curated furniture from trusted brands like Flexsteel, Hooker, La-Z-Boy, and Ashley, and practical guidance that makes the whole process easier. If your drawer project is part of a bigger bedroom, office, or living space update, browse their collection and connect with their experts to find pieces and solutions that fit your home the right way.