Dining Room Table Light: A Buyer’s Guide to Perfection

A lot of families already know something feels wrong with their dining space before they know how to fix it. Dinner hits the table, the room looks flat, faces fall into shadow, or the fixture hangs there like an afterthought. In West Texas and Southeastern New Mexico, that problem gets even more obvious because dining rooms often sit in open-plan spaces where the light has to work hard and look good from several angles at once.
The good news is that choosing the right dining room table light isn't mysterious. It comes down to scale, fixture type, style pairing, and control. Once those pieces line up, the room starts doing what it should do. It gathers people in, flatters the table, and makes everyday meals feel more finished.
A lot of the same principles that help brighten compact living spaces also apply here. Homeowners looking for a smart primer on making interiors feel lighter overall may find All Well Property Services' flat guide useful, especially when a dining area feels dark before a fixture is even chosen.
Table of Contents
- The Secret to a Perfectly Lit Dining Space
- Measure Twice Buy Once Sizing Your Fixture Correctly
- Choosing Your Ideal Light Fixture Type
- Pairing Lighting Style with Your Dining Furniture
- Creating Ambiance with Bulbs Dimmers and Layering
- Installation Maintenance and When to Call a Pro
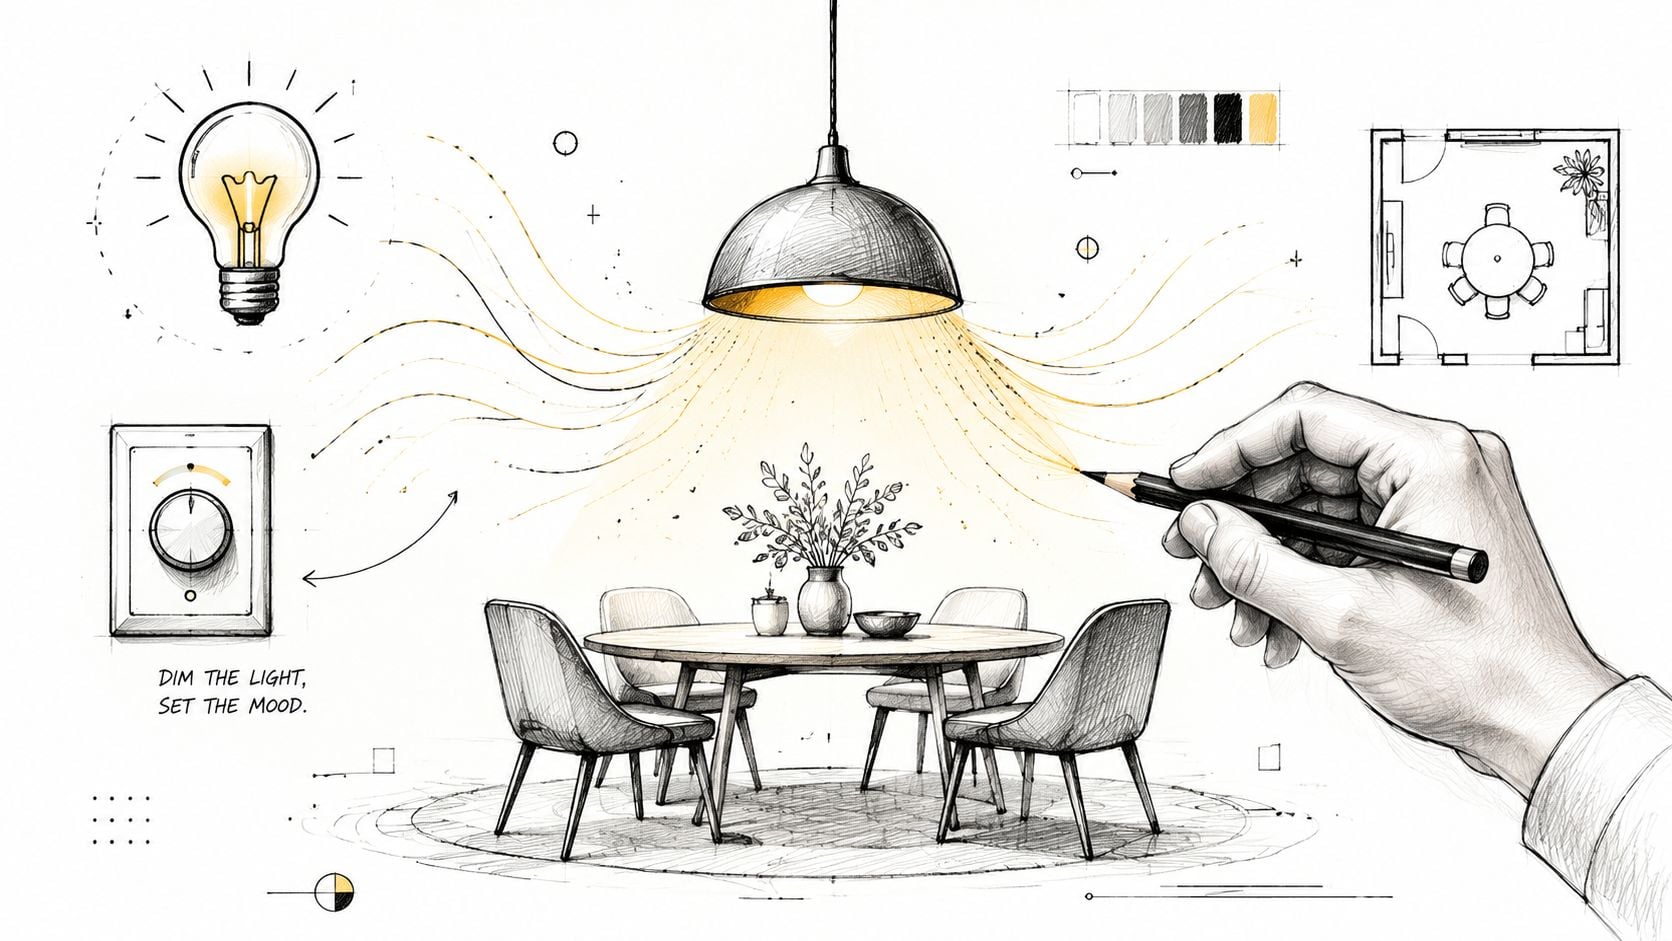
The Secret to a Perfectly Lit Dining Space
A dining room table light does more than aim light at plates. It controls mood, makes the furniture feel intentional, and tells the eye where the room begins and ends. When the fixture is wrong, the whole space feels unsettled, even if the table and chairs are beautiful.
That's why lighting usually becomes the missing piece in homes that feel almost finished. The table may fit. The rug may work. The artwork may even be right. But a harsh bulb, a weak fixture, or poor placement can make a family dinner feel more like a waiting room than a gathering place.
Why the right fixture changes everything
The strongest dining rooms share one trait. The light feels connected to the table below it.
That sounds simple, but a lot of homeowners get pulled in the wrong direction. They shop by trend, copy a photo, or pick a fixture that looks dramatic in a showroom but doesn't suit their own table shape, ceiling height, or daily routine. In open-plan homes, that mistake gets magnified because the fixture is visible from the kitchen, living area, and sometimes the entry too.
A good dining light doesn't just decorate the room. It gives the table a sense of place.
In homes across this region, that matters. Long farmhouse tables, mixed materials, and open sightlines are common. The fixture has to hold its own visually without overpowering the furniture or blinding seated guests.
What homeowners should focus on first
Before style enters the conversation, three decisions matter most:
- Scale comes first: A light that's too small looks timid and doesn't visually anchor the table.
- Placement matters more than trend: The fixture should serve the table, not the center of the room.
- Light quality finishes the job: Even a beautiful chandelier fails if the glow feels cold or patchy.
Once those are right, style becomes much easier. That's where a dining room table light stops being a guessing game and starts becoming a confident design choice.
Measure Twice Buy Once Sizing Your Fixture Correctly
A homeowner finds a fixture they love, installs it over the dining table, and something still feels wrong. The room looks off balance. The table feels underlit or crowded. In open-plan homes across West Texas and Southeastern New Mexico, that mistake stands out fast because the dining light is rarely seen in isolation. It has to relate to the table, the kitchen, and the living area all at once.
Get the size right first.
Start with the table measurements
Use the table as the anchor point. That gives you a fixture that looks intentional instead of random.
For round or square fixtures, aim for a diameter that is about one-half to two-thirds of the table width. For rectangular tables, choose a fixture that is roughly one-quarter to one-half of the table width and about one-third to two-thirds of the table length. Those ranges keep the light visually tied to the table without swallowing it.
A 40-inch by 96-inch rectangular table usually looks right with a fixture around 10 to 20 inches wide and 32 to 64 inches long. That sounds like a big range, and it is. The tighter end feels cleaner and more understated. The larger end gives the dining area more presence, which often works well in open layouts with tall ceilings, wide sightlines, and larger furniture pieces.
In this region, many homes use substantial tables with thick tops, heavy wood grain, iron bases, or long bench seating. A skimpy fixture over that kind of table almost always looks timid. Give the table enough visual weight overhead.
Best rule to follow: Size the fixture to the table first, then confirm it fits the room.
Hang it low enough to feel connected
Height changes the mood just as much as width or length.
For a standard 8-foot ceiling, hang the bottom of the fixture 30 to 36 inches above the tabletop. That usually gives you good light on the table and clear sightlines across it. If the ceiling is taller, add about 3 inches of height for each additional foot of ceiling height.
That adjustment matters in the ranch homes, newer builds, and open-concept spaces common across West Texas and Southeastern New Mexico. Higher ceilings can make a fixture feel detached if you hang it by the basic rule and stop there. Raise it enough to suit the architecture, but not so much that the dining area loses its center.
If you want to confirm the drop before installation, Miller Waldrop's guide on how high to hang a lamp over a dining table gives a clear reference point.
Dining Light Sizing & Height Quick Reference
| Table Shape | Fixture Diameter/Length Rule | Hanging Height (8ft Ceiling) | Height Adjustment for Taller Ceilings |
|---|---|---|---|
| Round table | Diameter about 50% to 66% of table width | 30-36 inches above tabletop | Raise 3 inches per additional foot |
| Square table | Diameter about 50% to 66% of table width | 30-36 inches above tabletop | Raise 3 inches per additional foot |
| Rectangular table | About 1/4 to 1/2 of table width and 1/3 to 2/3 of table length | 28-32 inches above tabletop is a common guide, with 30-36 inches often used for standard 8-foot ceilings | Raise 3 inches per additional foot |
Four sizing mistakes to avoid
A tape measure prevents most expensive regrets.
- Too small: The fixture looks like an afterthought and fails to anchor the dining zone.
- Too large: It overwhelms the table and crowds the people sitting there.
- Too high: The room feels bright but disconnected. You lose intimacy over the table.
- Too low: The fixture interrupts conversation and starts to feel like an obstacle.
If you are deciding between two sizes, choose the one that has enough presence for the table and the broader room view. In open-plan homes, undersized lighting is the mistake I see more often than oversized lighting.
Choosing Your Ideal Light Fixture Type
You walk into an open-plan home in Midland or Hobbs and spot the dining area right away. The fixture over the table either defines that space with confidence or lets it disappear into the kitchen and living room. Fixture type decides which one happens.
A dining room table light should match the table shape, support the way the room is used, and make sense with the architecture around it. In West Texas and Southeastern New Mexico homes, that often means balancing scale, heat, dust, ceiling height, and wide sightlines all at once.
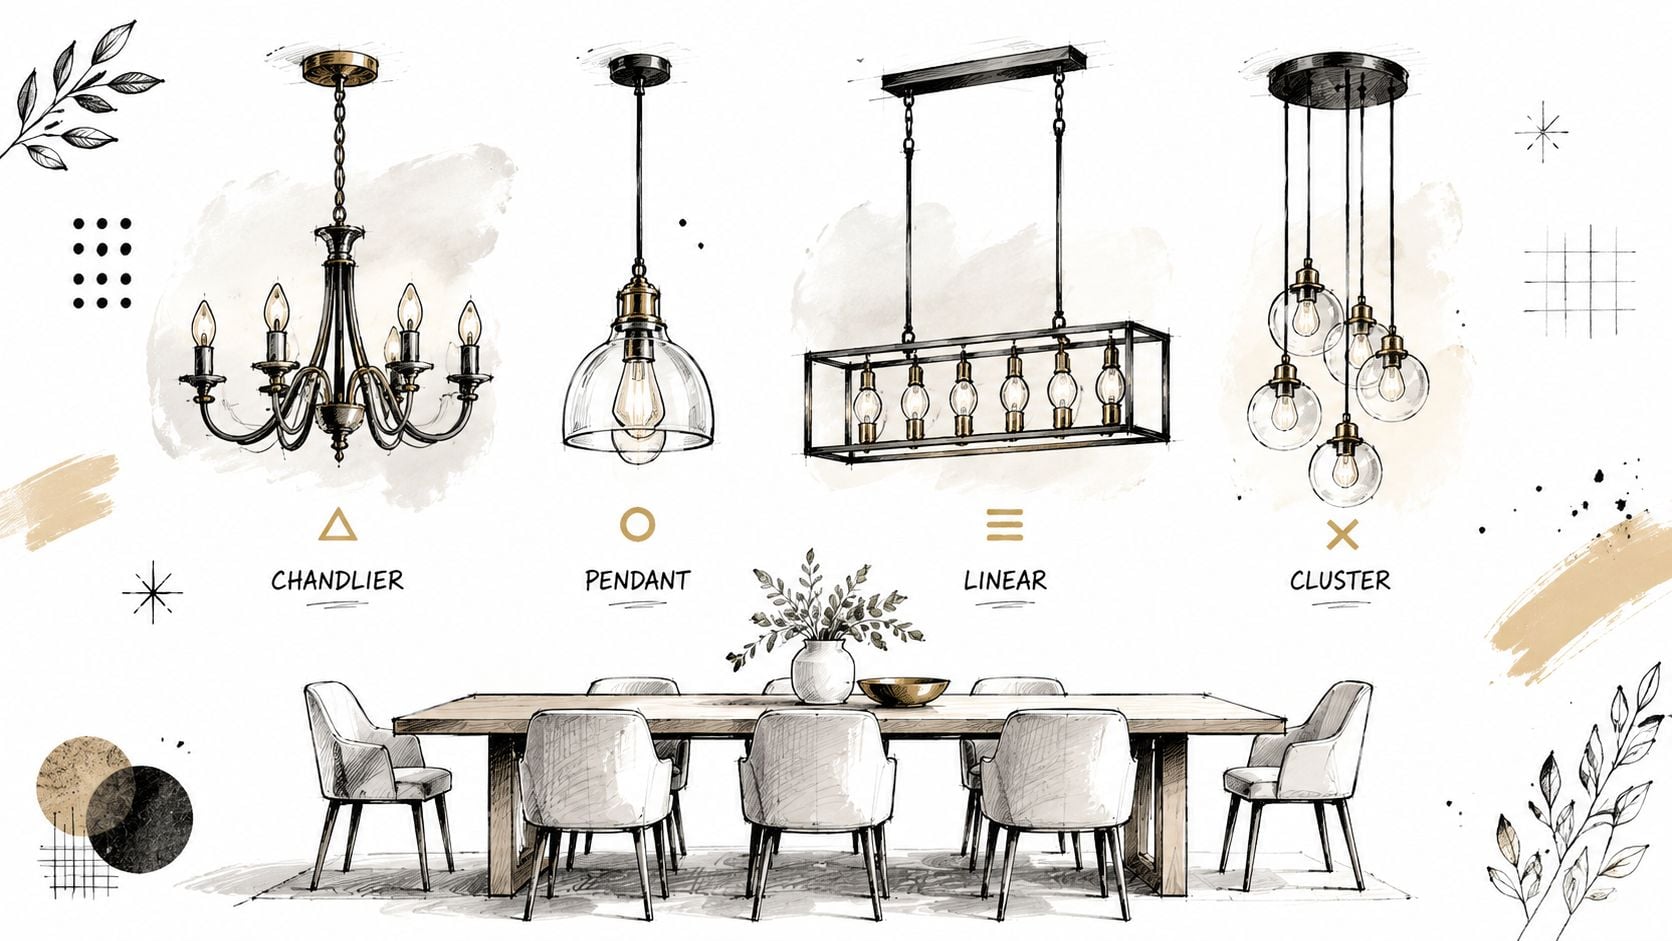
Chandelier, pendant, linear, or multi-light
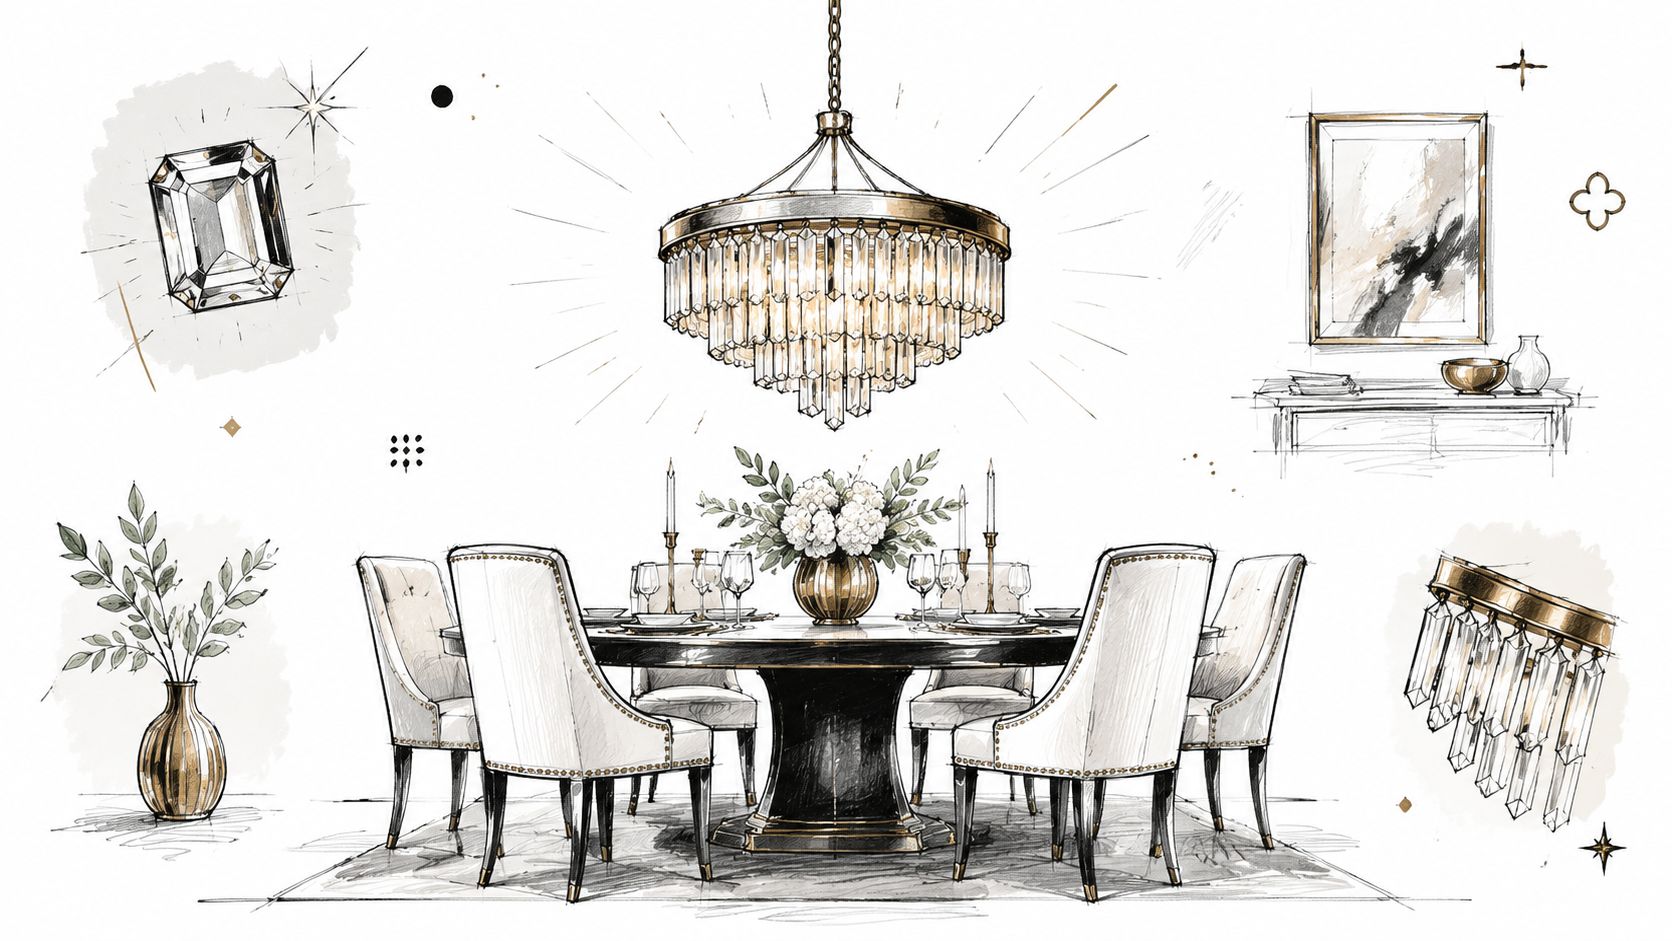
Chandelier
Choose a chandelier when the room needs a central statement and the table shape supports it. It works especially well over round tables, pedestal bases, and dining rooms with traditional, transitional, Spanish-inspired, or rustic details. In this region, chandeliers with iron, aged brass, wood accents, or simple curved arms usually feel more grounded than overly ornate crystal-heavy styles.
Single pendant
A single pendant suits smaller dining tables, casual breakfast areas, and compact dining zones inside open layouts. It keeps the room lighter visually, which matters when you already have beams, stone, dark cabinetry, or other strong materials nearby. Use it when you want the table noticed without turning the fixture into the whole story.
Linear suspension light
For long rectangular tables, this is usually the right answer. The shape follows the furniture, spreads light more evenly across the surface, and gives the dining area a defined footprint in open-plan homes. I recommend linear fixtures often in West Texas homes because they hold their own against large islands, long walls, and expansive great rooms.
Multi-light or cluster fixture
This style fits contemporary interiors, mixed-material homes, and spaces that need movement instead of symmetry. It can soften the visual weight of a thick wood table or add interest where the architecture is very clean. Use it carefully, though. Too many globes or too much glass can look busy fast.
The fixture should echo the table shape and the room lines around it.
What works best in real homes
A chandelier is not the automatic choice. In open layouts, a linear fixture often does a better job because it marks the dining zone clearly from every angle. That matters in homes where the table sits between the kitchen island and living area and has to hold visual ground.
Ceiling height changes the decision too. If the dining area has tighter vertical clearance, or if the fixture sits close to a major walkway, a lower-hanging statement piece can create more problems than charm. In that case, flush mount ceiling light options are worth reviewing for nearby dining spaces or rooms that need a cleaner overhead profile.
One practical product example in this category is the lighting assortment available through Miller Waldrop Furniture & Decor, including home décor lighting that can suit dining spaces depending on table size and layout.
My rule is simple. Use a chandelier for a centered, classic focal point. Use a linear suspension for a long table in an open room. Use a pendant for a smaller dining area or a space that already has plenty of visual weight.
Pairing Lighting Style with Your Dining Furniture
You can buy the right size fixture and still miss the room completely. I see it all the time in West Texas and Southeastern New Mexico homes. The table has one personality, the light has another, and the dining area feels unsettled from every angle.
The fix is simple. Match the character of the fixture to the character of the furniture.
Match the mood, not just the finish
Start with shape, weight, and attitude. Finish comes later.
A thick mesquite or oak table wants a fixture with some backbone. Iron, aged brass, hammered metal, and clean-lined wood details usually look right because they share the same visual weight. A delicate polished fixture over a substantial ranch-style table often feels disconnected.
A glass-top table or a slimmer modern dining set needs the opposite approach. Keep the light crisp and controlled. Minimal linear forms, simple shades, and restrained detailing keep the room sharp instead of fussy.
Traditional furniture needs more curve and softness. Choose a chandelier or pendant with rounded arms, fitted fabric shades, or classic symmetry. Straight, severe fixtures can make an elegant dining set look stripped down in the wrong way.
If your table mixes materials, such as wood with metal legs or an upholstered base, keep the light edited. One strong idea is enough.
Here is the rule I give clients. Heavy table, grounded fixture. Light table, cleaner fixture. Formal table, refined fixture. Casual table, relaxed fixture.
For homeowners still narrowing down the furniture itself, this guide on how to choose a dining room table helps you get the table right before you commit to the light above it.
Open-plan rooms need more discipline
This matters even more in the open layouts common across our region. In a lot of West Texas and Southeastern New Mexico homes, the dining table sits between the kitchen and living room, with no walls doing any visual work. The light has to connect with the table, but it also has to hold that zone in place.
That is where style mistakes show up fast.
A small ornate chandelier over a broad farmhouse table usually gets lost in an open great room. A thin modern fixture over a heavy, distressed table can feel underdressed, especially with tall ceilings, big sightlines, and warm natural finishes around it. In these homes, the dining light cannot be an afterthought. It needs enough presence to stand up to the kitchen island, cabinetry, and seating area nearby.
Use the furniture to set the tone, then choose a fixture that reads clearly from across the room. That might mean a blackened iron linear light over a plank table, a soft brass fixture over a refined oval table, or a simple matte fixture that lets a beautiful wood top stay the star.
Color matters too. If your dining area opens straight into a kitchen with dark cabinetry, the fixture should feel related to that palette without copying every finish in the room. Designers working to elevate your Puget Sound kitchen design often focus on that same idea of color balance across connected spaces. The principle holds here too. Repetition helps, but restraint gives the room polish.
Choose a fixture that belongs to the table and can still hold its own in the larger room. That is what makes an open-plan dining area feel intentional instead of temporary.
Creating Ambiance with Bulbs Dimmers and Layering
Dinner starts, the food looks good, and then the light ruins the mood. It is too bright for a weeknight meal, too cold on the walls, or too focused on the tabletop while the rest of the room disappears. That happens all the time in open-plan homes across West Texas and Southeastern New Mexico, where the dining area has to hold its own beside a kitchen, living room, and often a wall of windows.
Ambiance comes from control. The three tools that give you that control are bulbs, dimmers, and layering.
Use warm light and enough of it
For a dining space, stick with 2,700K to 3,000K bulbs. That range keeps skin tones natural, wood finishes rich, and the room comfortable at night. Cooler bulbs make a dining area feel more like a workspace than a place to gather.
You also need enough light to serve the whole room, not just the center of the table. A common benchmark for ambient lighting is 30 to 40 lumens per square foot, so a 100 square foot dining area usually needs about 3,000 to 4,000 lumens in total. A good approach is to let the fixture over the table handle part of that output, then spread the rest around the room with secondary light sources.
That matters even more in regional homes with taller ceilings, darker wood furniture, iron finishes, and open sightlines into the kitchen. Those materials absorb light. If you under-light the room, it feels flat fast.
Layer the room so the light reaches beyond the table
One fixture over the table rarely solves the whole room. It lights the plates, but it often leaves corners, walls, and nearby cabinetry feeling dull. In an open layout, that makes the dining zone feel disconnected instead of settled into the larger space.
Use at least three layers:
- The main dining fixture: This anchors the table and provides direct light for meals, homework, and hosting.
- A secondary soft source: A buffet lamp, wall sconce, or nearby accent light fills in the edges and keeps the room from dropping into shadow.
- A dimmer: This lets you shift from bright and practical to low and relaxed without changing bulbs.
A dining room without a dimmer stays stuck at one intensity, and that is usually the wrong one for half the day.
Dimmable LEDs are also a smart long-term choice because they use far less energy than incandescent bulbs and last longer. Just make sure the bulb, fixture, and dimmer are all compatible. If one piece is not, you get flicker, buzzing, or dead spots in the dimming range.
For homeowners thinking about how light color plays off nearby cabinets and finishes, this article on how to elevate your Puget Sound kitchen design is a useful reference. The same principle applies here. In an open-plan home, your dining light has to flatter the table and the kitchen beside it.
The simplest formula for a better mood
Keep it simple:
- Choose warm bulbs
- Install a dimmer
- Add a second light source somewhere in the room
Do those three things, and the dining space feels better immediately. You get a room that works for everyday meals, big holiday gatherings, and everything in between.
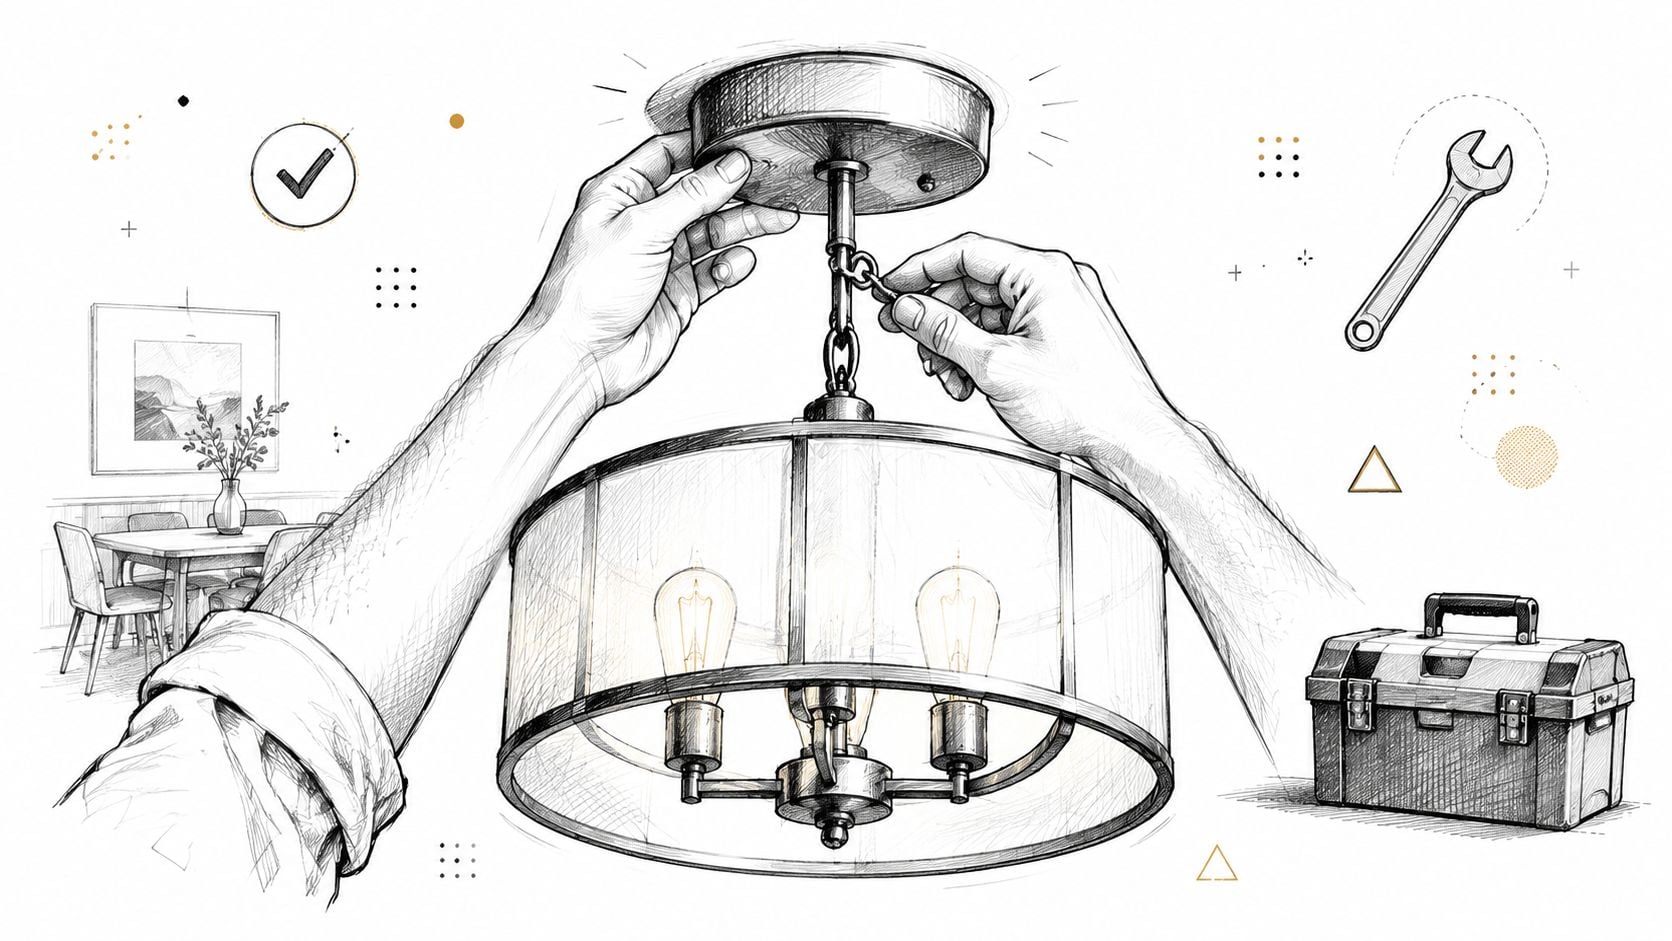
Installation Maintenance and When to Call a Pro
A dining light can look perfect in the showroom and still fail in the room if it is hung crooked, too high, too low, or on a box that cannot support the weight. In a lot of West Texas and Southeastern New Mexico homes, that problem shows up fast because open-plan layouts put the dining fixture in full view from the kitchen and living area. A sloppy install does not stay hidden.
A quick swap works only when the new fixture matches the old setup in weight, size, and placement. If you are changing any of those, slow down and check the basics before anything goes up.
Final checks before installation
Confirm the fixture still fits the table the way you planned earlier, and confirm the hanging height works from every nearby sightline. In an open layout, the light has to feel right from the dining chair, the kitchen island, and the living room sofa. That is the part many homeowners miss.
Do one simple test before installation. Mark the fixture width with painter's tape on the ceiling, then hang a temporary marker at the planned bottom height. A cardboard cutout or even kraft paper helps. You will spot problems immediately, especially if the fixture blocks views across the room or feels too small for a long farmhouse table.
Know when DIY stops making sense
Call a pro if any of these apply:
- The new fixture is heavier than the old one
- The junction box is off-center from the table
- The ceiling is tall enough that ladder work gets risky
- You need to add or replace a dimmer
- You are unsure about the wiring, support, or switch setup
That is not overkill. It is good judgment.
A licensed electrician can move the box, add proper support, correct switch issues, and make sure the fixture hangs level. If you need that kind of help, review what a residential lighting installation electrician typically handles before you schedule the work.
Maintenance is straightforward. Dust the fixture often, tighten any loose hardware during bulb changes, and keep all bulbs matched in color and output so the light stays even across the table. Use a soft cloth on metal, glass, or painted finishes. Harsh cleaners ruin finishes faster than age does.
One more tip matters in this region. West Texas dust is real, and open-plan homes move air across larger spaces. Fixtures with lots of small crevices, crystals, or exposed detailing need more frequent cleaning than homeowners expect. If you want low-maintenance lighting, choose a design with cleaner lines and fewer dust-catching parts.
Good dining room lighting is not just about style. It is about safe support, the right placement, and a fixture that still looks good after a year of real life.